In a wilderness survival situation, your first priority is to find or build shelter. A good shelter will protect you from the elements, keep you warm, and provide a safe space for rest and recovery. In this guide, we’ll show you how to build a shelter using only natural materials you can find in the wild.
Why Shelter is Essential for Survival
Without a shelter, your body will struggle to regulate temperature, especially in cold, wet, or windy conditions. Exposure to the elements can lead to hypothermia, dehydration, and exhaustion. A good shelter keeps you dry, warm, and out of the wind, giving you the best chance to survive until help arrives or until you can safely navigate your way to civilization.
1. Choosing the Right Location for Your Shelter
Before you start building, it’s important to choose a safe and strategic location. Here’s what to look for:
- Flat ground: Avoid building your shelter on a slope or uneven ground. You need a flat area to make the shelter stable and comfortable.
- Protection from the wind: Position your shelter in an area that is shielded from strong winds, such as behind large rocks, trees, or a natural ridgeline.
- Nearby resources: Make sure there is a good supply of materials (branches, leaves, etc.) close to your shelter site, but not so close that they become a fire hazard.
- Avoid danger zones: Stay clear of areas prone to flooding, unstable rock formations, or dangerous wildlife.
2. Building a Simple Lean-to Shelter
The lean-to shelter is one of the simplest and most effective structures you can build in the wild. Here’s how to make one:
- Step 1: Find a sturdy horizontal support, like a fallen tree or a thick branch, that will serve as the backbone of your shelter.
- Step 2: Gather long branches or logs and lean them against the support at an angle to form a triangular frame. Secure them in place with smaller branches or vines.
- Step 3: Fill in the frame with smaller branches, leaves, and foliage to create a dense layer of insulation.
- Step 4: Cover the outside of the shelter with additional foliage or bark to make it waterproof. The more layers you add, the better the insulation will be.
For added warmth and comfort, make sure the inside of the shelter is covered with soft materials like grass, pine needles, or moss.
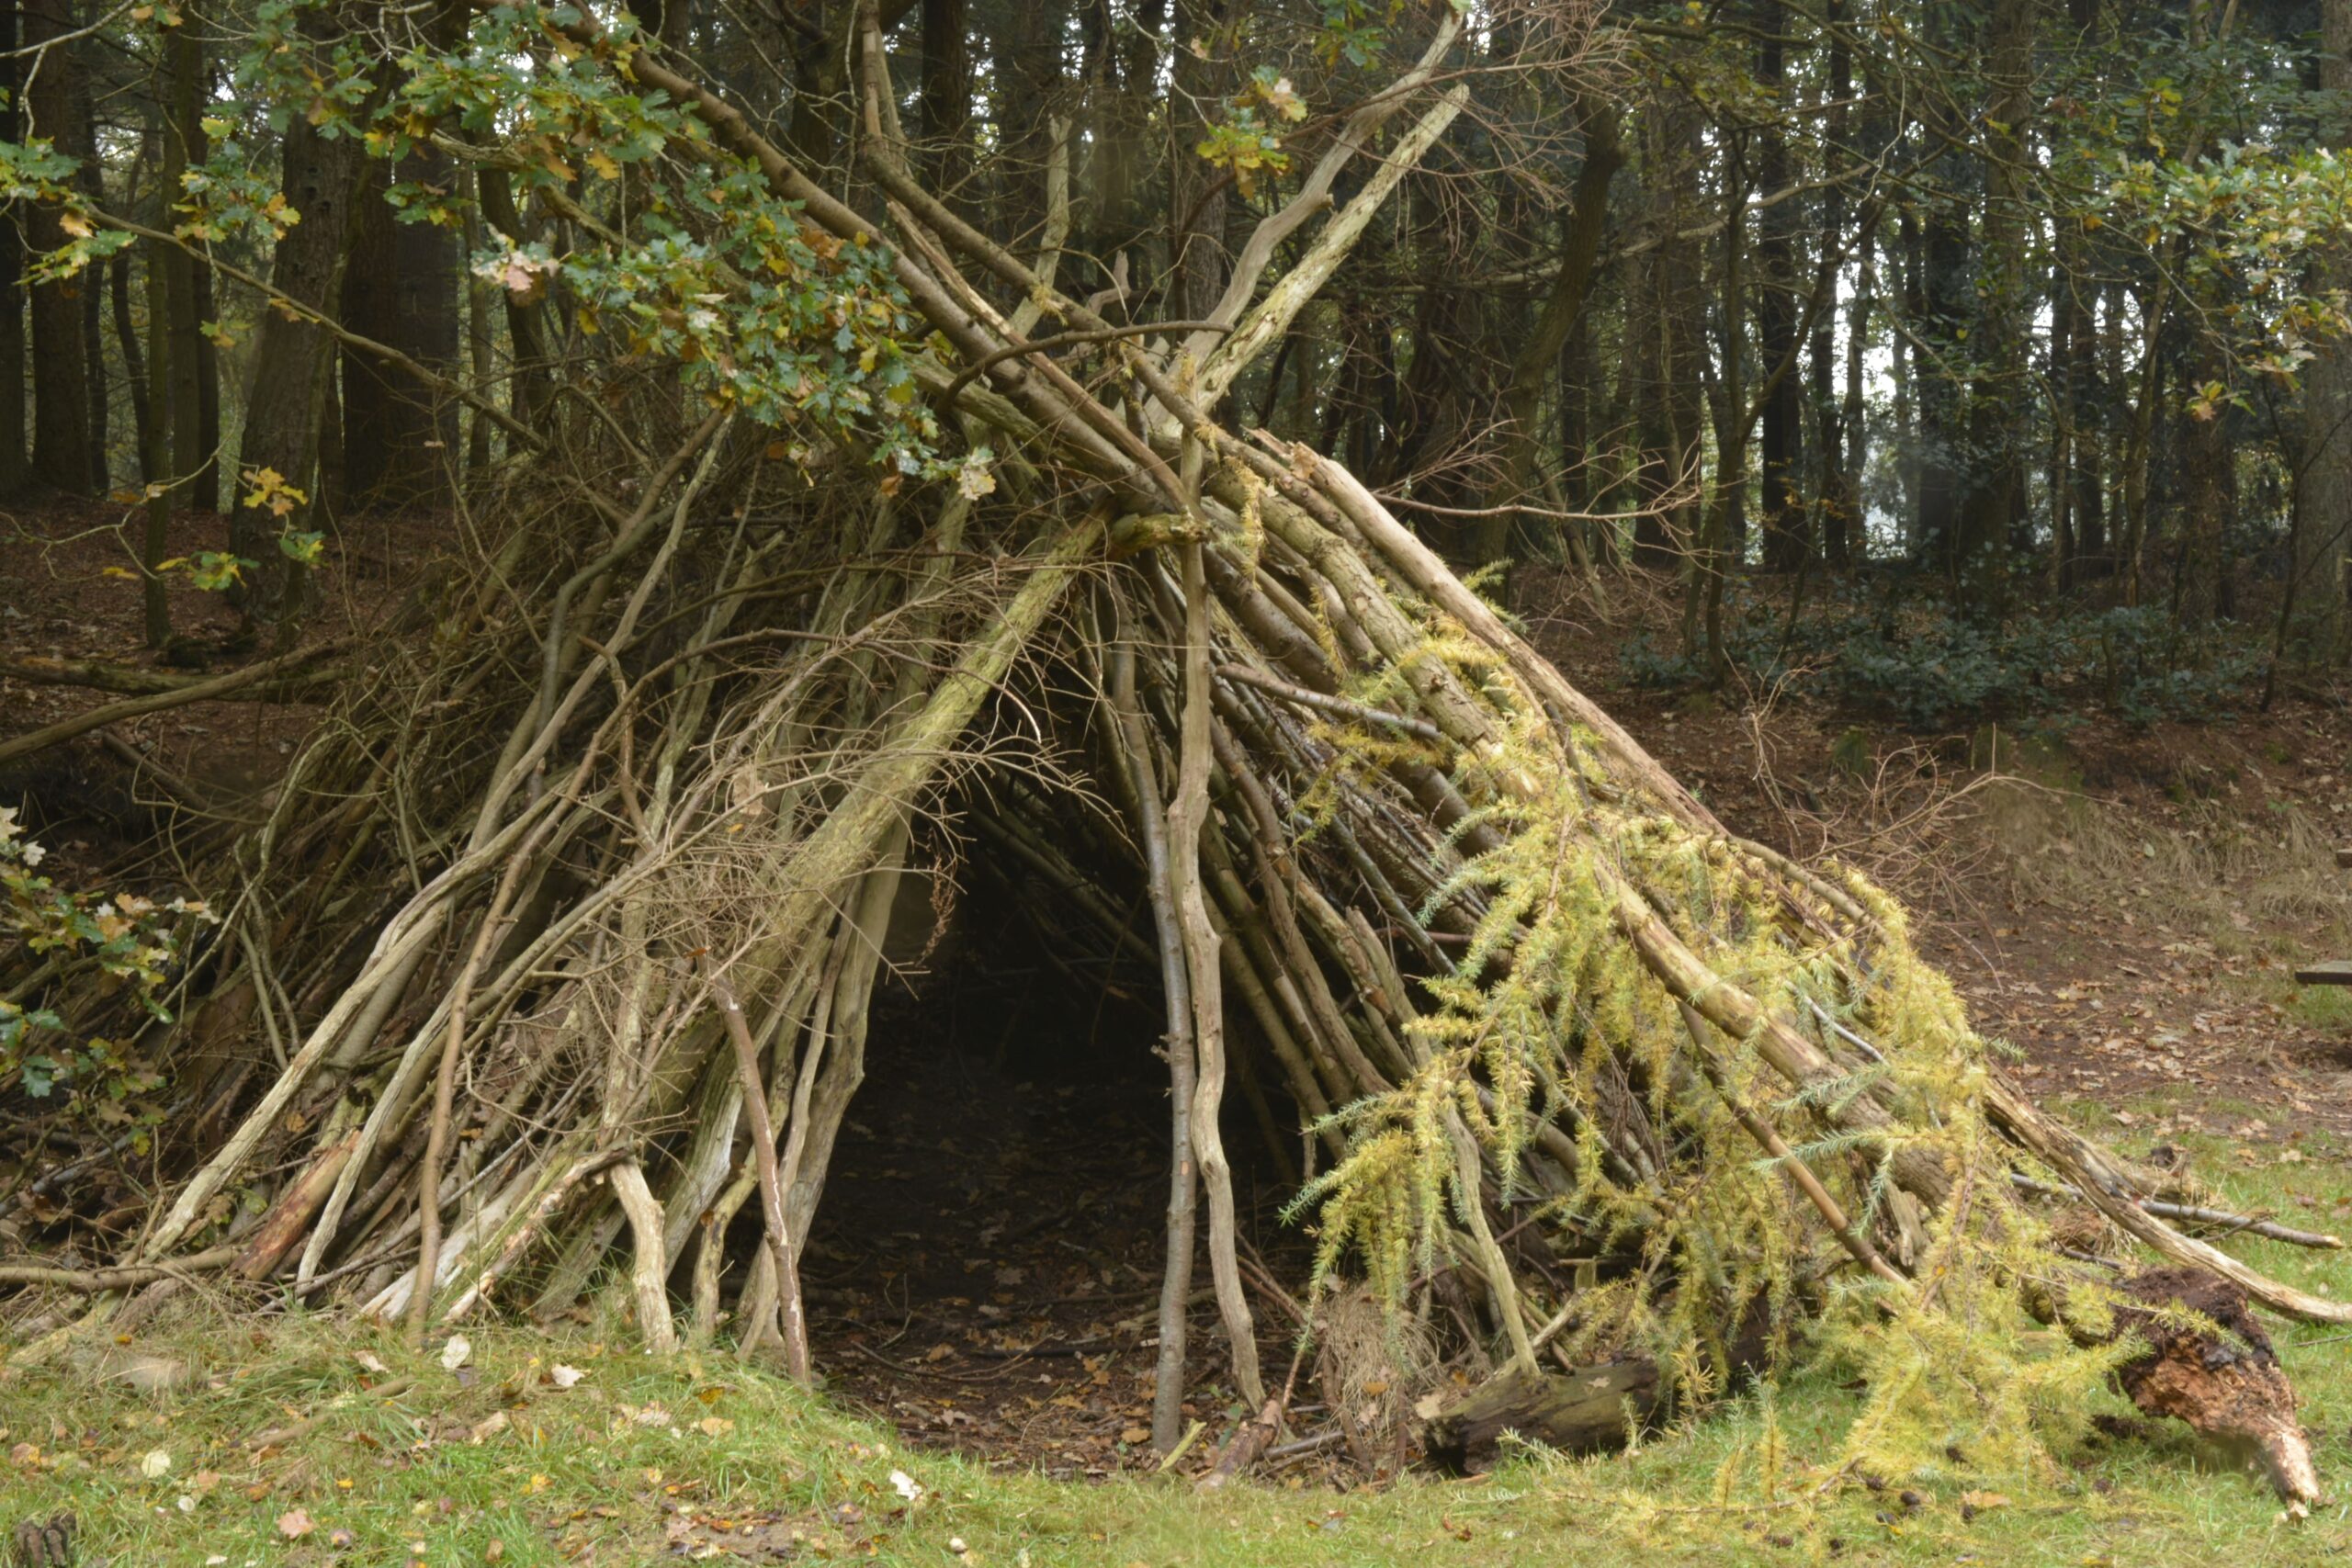
3. Building a Debris Hut for Maximum Insulation
If you need extra warmth and protection from the cold, a debris hut is one of the best natural shelters you can build. This shelter is essentially a small, domed structure built from branches and covered with layers of debris like leaves and moss.
- Step 1: Start by creating a framework of branches in a conical shape. Use a strong central branch as the spine, and lean smaller branches around it, forming a dome.
- Step 2: Once the frame is stable, begin layering thick materials like leaves, pine needles, and moss to cover the structure. Make sure there are no gaps where the wind can penetrate.
- Step 3: For added warmth, build a thick floor of dry leaves or pine boughs to insulate your body from the cold ground.
- Step 4: Leave a small opening for ventilation, but make sure the entrance is covered enough to prevent wind from entering.
A debris hut is excellent for cold weather because it offers fantastic insulation and protection. It may take a bit longer to build, but it’s well worth the effort when you need warmth and safety.
4. Building a Tarp Shelter Using Natural Materials
If you happen to have a tarp, you can use it in combination with natural materials to create a durable shelter. A tarp provides an extra layer of protection, but it’s important to know how to secure it properly with the resources around you.
- Step 1: Find two sturdy trees or rocks that are a few feet apart. Tie the tarp between them at an angle, creating a sloped roof for rain runoff.
- Step 2: Secure the edges of the tarp with long, strong branches or ropes to ensure it stays in place.
- Step 3: Pile up leaves, branches, and other debris around the sides of the tarp to block out wind and add insulation.
- Step 4: For the floor, lay down pine boughs or dry grass to keep yourself off the cold, damp ground.
A tarp shelter combined with natural materials is fast to assemble and can be a lifesaver in the right conditions.
5. Improving Your Shelter for Comfort and Safety
Once you’ve built your shelter, there are a few things you can do to make it more comfortable and secure:
- Use a raised bed: Raise your sleeping area off the ground to avoid cold, moisture, and insects. Use logs or large branches to create a simple platform.
- Block the entrance: Cover your shelter’s entrance with branches, a tarp, or leaves to protect against wind and rain. Leave enough space for ventilation.
- Keep the fire close: If you’ve built a fire for warmth, ensure it’s safely positioned near your shelter, but not too close to cause a fire hazard. A well-placed fire can also act as a deterrent for animals.