


Your Next Move, Planned.
How to Clean Water in the Wilderness
Help Others Prepare
Access to clean water is one of the most critical factors in survival. In the wilderness, finding a source of water is the first step, but ensuring it’s safe to drink is just as important. In this post, we’ll explore the top methods to purify water in the wild, from simple techniques to more advanced methods that can make even the most questionable water safe to drink.
Why Purifying Water is Essential for Survival
Waterborne diseases are one of the leading causes of illness and death in survival situations. Many sources of water in the wild, such as streams, lakes, and rivers, are contaminated with bacteria, viruses, and parasites that can cause serious health problems. Purifying water ensures that it’s free from harmful pathogens, making it safe for drinking, cooking, and cleaning.
In a survival scenario, it’s crucial to always purify water before drinking, especially if you’re uncertain about its cleanliness.
1. Boiling Water: The Most Effective Method
Boiling is one of the simplest and most effective methods of purifying water. It kills bacteria, viruses, and parasites by using heat. Here’s how to do it:
- Step 1: Collect water from a nearby stream, lake, or river. If the water is muddy or dirty, let it settle first.
- Step 2: Bring the water to a rolling boil. Boil it for at least 5 minutes to kill harmful microorganisms.
- Step 3: Let the water cool down before drinking. If you have a container, you can store the boiled water for later use.
Boiling water is the most reliable method to purify it, especially when you have no other tools or purification tablets available. Just remember that boiling water will not remove any chemicals or heavy metals, so it’s best used for clear, natural water sources.
2. Using Water Purification Tablets or Drops
Water purification tablets or drops are small, lightweight, and easy to carry, making them an excellent option for purifying water in the wilderness. They work by releasing chemicals (such as iodine or chlorine) that kill harmful organisms. Here’s how to use them:
- Step 1: Add the recommended number of purification tablets to the water according to the instructions on the package.
- Step 2: Stir the water and let it sit for the required time (usually 30 minutes to an hour) to allow the chemicals to disinfect the water.
- Step 3: The water is now safe to drink. If the water has a strong taste, you can filter it using a cloth or drink it with a piece of cloth wrapped around the mouth of your container.
Purification tablets are fast and easy to use, but they may not be as effective in cloudy or heavily contaminated water. Always check the expiration date of the tablets and carry a spare supply if you’re in a survival situation.
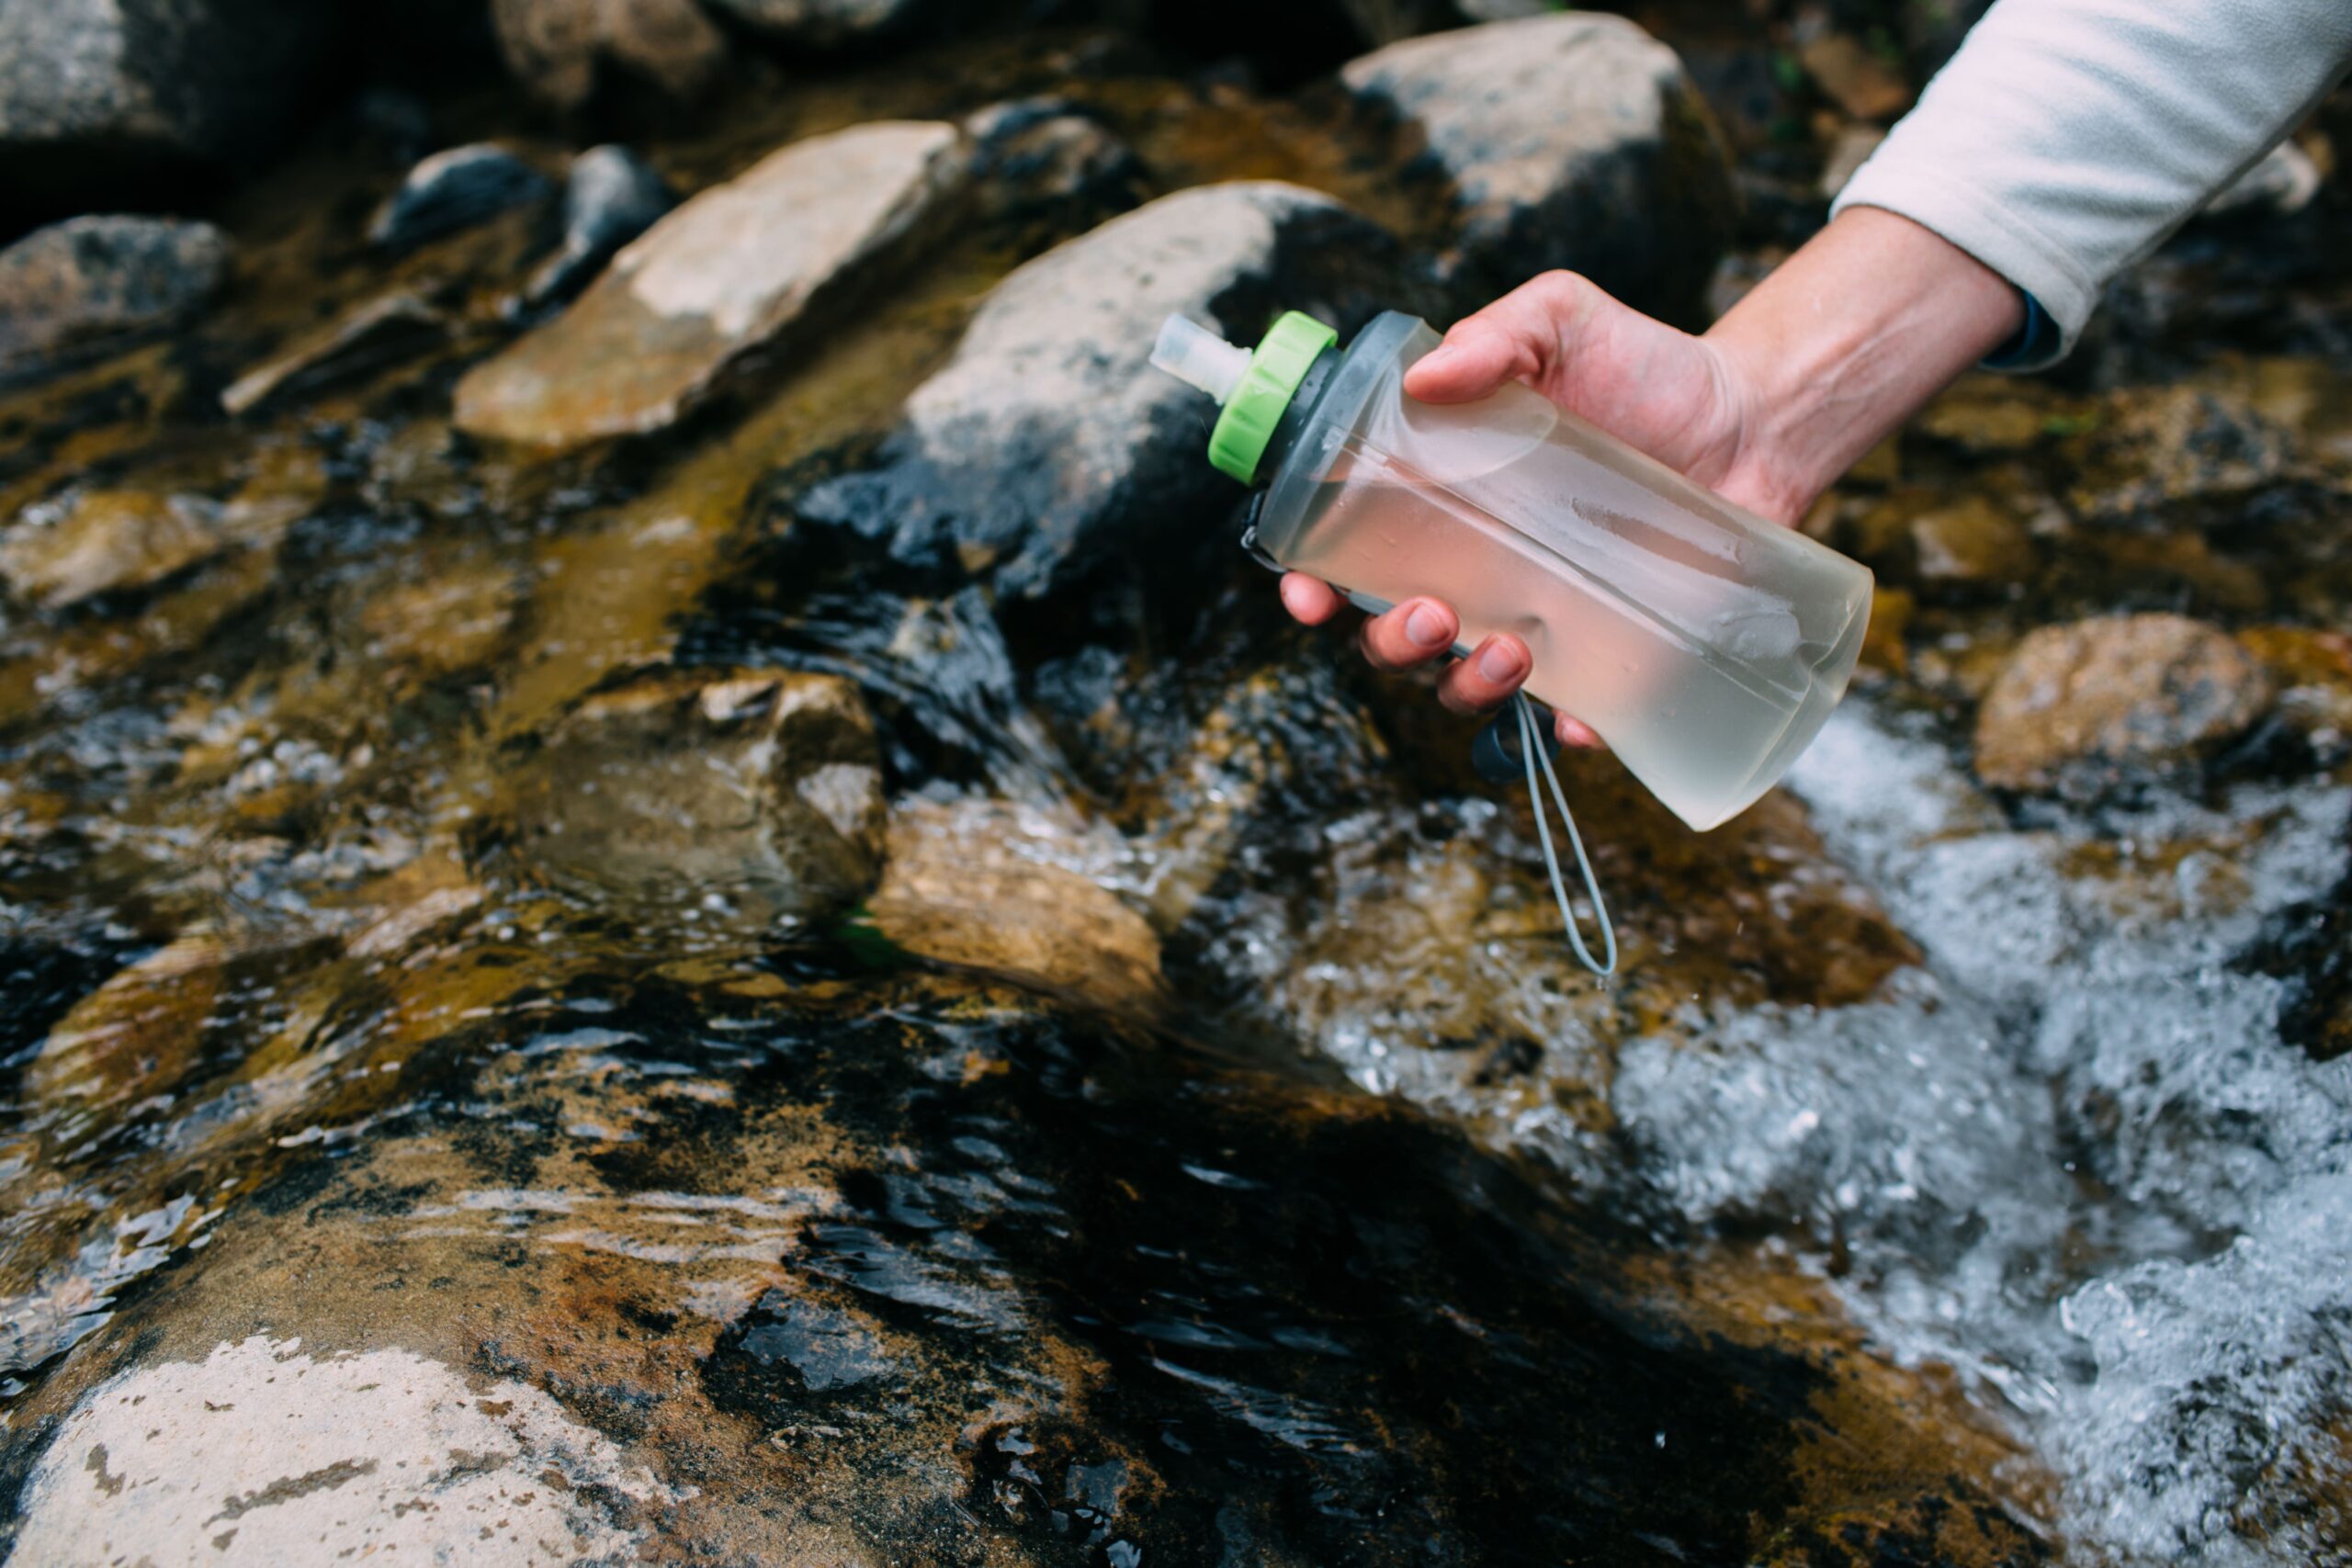
3. Filtration: Using a Portable Water Filter
If you have a portable water filter, it can be a lifesaver in the wilderness. A good filter can remove bacteria, protozoa, and other harmful organisms from the water. Here’s how to use it:
- Step 1: Fill the filter’s container with water from a nearby source.
- Step 2: Pump or squeeze the water through the filter into a clean container.
- Step 3: The filtered water is now safe to drink.
Portable water filters are great for long-term use and can provide clean water quickly. However, they typically don’t remove viruses, so it’s best to combine them with boiling or purifying tablets for extra protection in areas where viruses are common.
4. DIY Filtration: Using Natural Materials
If you don’t have a water filter with you, you can use natural materials to create a makeshift filter. This method won’t remove all harmful pathogens but can improve water clarity and taste. Here’s how to make a basic filter:
- Step 1: Find a container (such as a plastic bottle) and cut it in half.
- Step 2: Add layers of natural materials inside the bottle. Start with large rocks or gravel at the bottom, followed by charcoal (from a fire), sand, and finally a layer of fine cloth or grass at the top.
- Step 3: Pour the dirty water through the top of the bottle and let it filter down through the layers into your clean container.
This DIY filtration method can help remove larger particles, such as dirt, and improve the water’s clarity. However, you will still need to boil the water or use purification tablets afterward to ensure it is safe to drink.
5. Solar Water Disinfection (SODIS)
If you have access to a clear plastic bottle and the sun, you can use solar disinfection to purify water. This method is especially useful in areas where boiling or chemical purification isn’t an option. Here’s how it works:
- Step 1: Fill a clear plastic bottle with water from a nearby source.
- Step 2: Place the bottle in direct sunlight for at least 6 hours (or longer if the water is cloudy). The UV rays from the sun will kill bacteria, viruses, and parasites in the water.
- Step 3: Once the water has been exposed to the sun, it’s safe to drink.
Solar disinfection is an energy-efficient method and works well in sunny environments. However, it requires clear water and sufficient sunlight to be effective, and it doesn’t work for all types of contaminants, such as chemicals or heavy metals.