


Your Next Move, Planned.
DIY Compact Rappel Kit: Build Your Own Micro System
Help Others Prepare
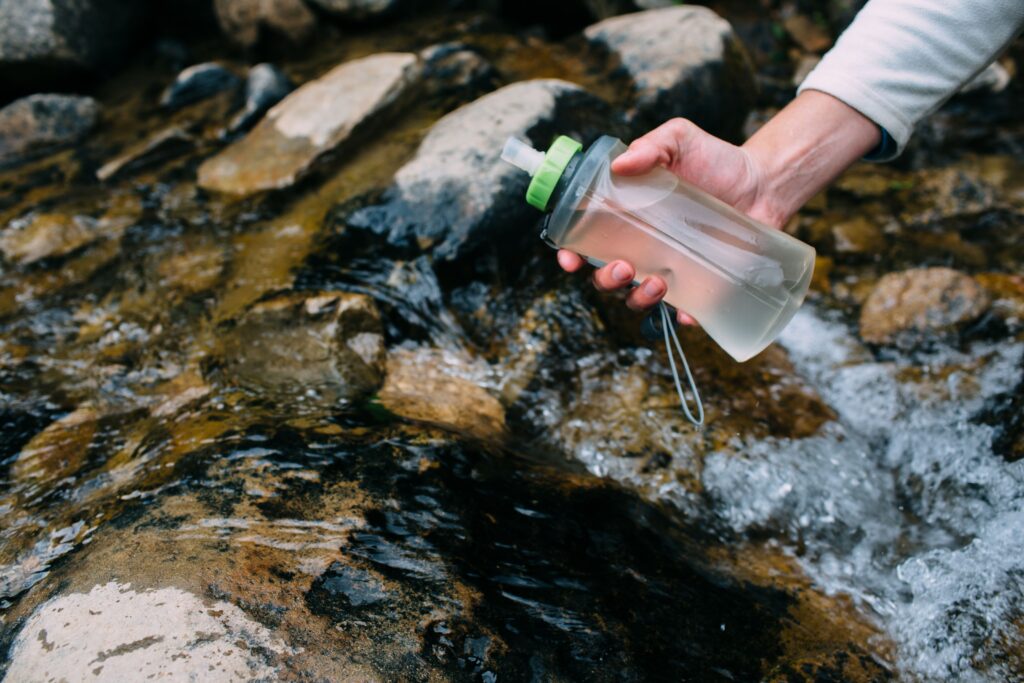
Mastering the art of rappelling represents a vital yet frequently undervalued capability in various high-stakes environments. Whether navigating rugged mountain terrain, escaping from structures engulfed in flames, conducting discreet missions, or dealing with elevated positions where circumstances can deteriorate rapidly, descending safely often emerges as the most prudent course of action. Needless to say, uncontrolled falling remains entirely unacceptable.
Conventional rappelling setups, sometimes referred to as abseiling in certain regions, typically suffer from drawbacks such as excessive bulk, prohibitive pricing, and substantial heft. Imagine possessing an alternative that counters all these limitations: a rappelling assembly that maintains practicality in dimensions, offers affordability, and weighs considerably less than standard backcountry equipment. This is precisely the objective I pursued with determination and ingenuity.
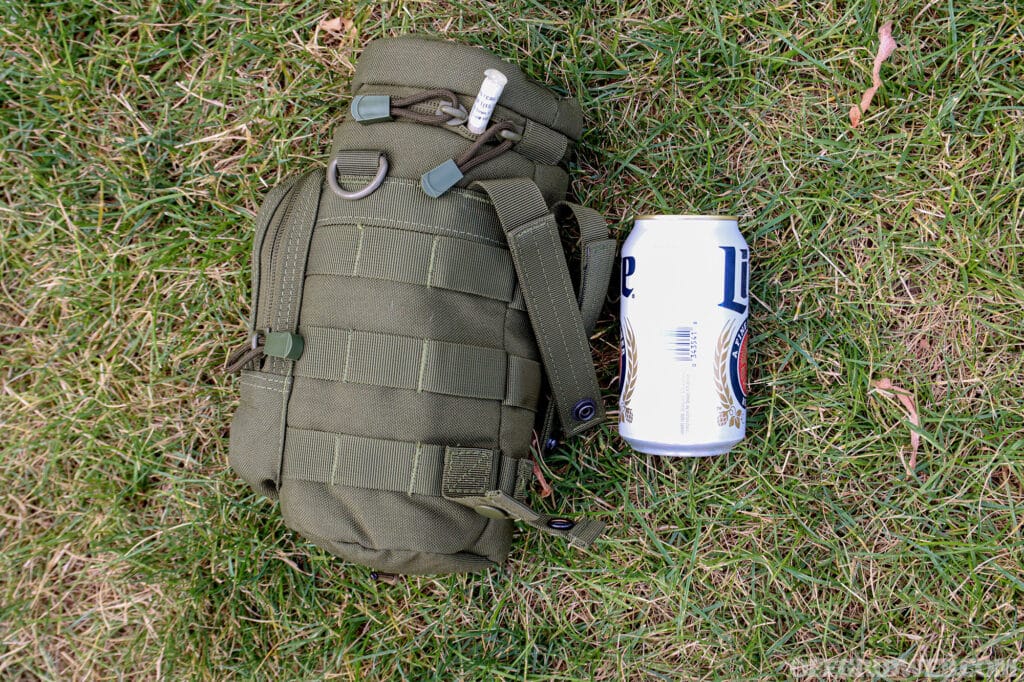
The custom-designed DIY kit I developed tips the scales at under 3 pounds, provides sufficient rope length for a single-line descent of 45 feet, and comes together at an approximate cost of $250. To put this into perspective, a typical climbing rope alone demands around $150 for merely 65 feet of material with a diameter comparable to a thumb’s width. Pre-assembled so-called micro rappelling kits, tailored for military personnel or emergency responders, frequently range from $600 to $1,000, varying by configuration. Moreover, these commercial offerings are generally optimized for narrow purposes. For instance, escape kits primarily geared toward firefighters hover in the upper $500 bracket and are engineered specifically for evacuating through building windows, lacking versatility for other scenarios. Compounding this, they often cannot be recovered from below after use.
While such commercial solutions satisfy two of the core criteria-compactness and reduced weight-they fall short on affordability. In contrast, my innovative kit surpasses every comparable market product not only in dimensions, mass, and price but across all performance metrics imaginable.
The Comprehensive Strategy
With extensive experience in climbing, a passion for outdoor pursuits, and a survivalist mindset, the notion of assembling a versatile utility kit akin to Batman’s iconic belt holds immense appeal. Batman invariably extricated himself from perilous predicaments using his array of tools. Although replicating his full arsenal may prove impractical, crafting a lightweight, rapidly deployable, and highly functional rappelling system is entirely feasible-and one that would undoubtedly earn Batman’s approval.
In the domain of climbing and rope-based systems, the kilonewton (kN) serves as the benchmark unit of measurement. This quantifies force under dynamic conditions, such as a sudden fall, while also applying to static loads. Rescue operations conventionally adhere to a 10:1 safety factor, requiring systems to endure at least tenfold the anticipated stress. Although this margin borders on excessive, my ambition extended to exceeding it, engineering the setup to approach or surpass this rigorous benchmark, distinguishing it from many available alternatives.
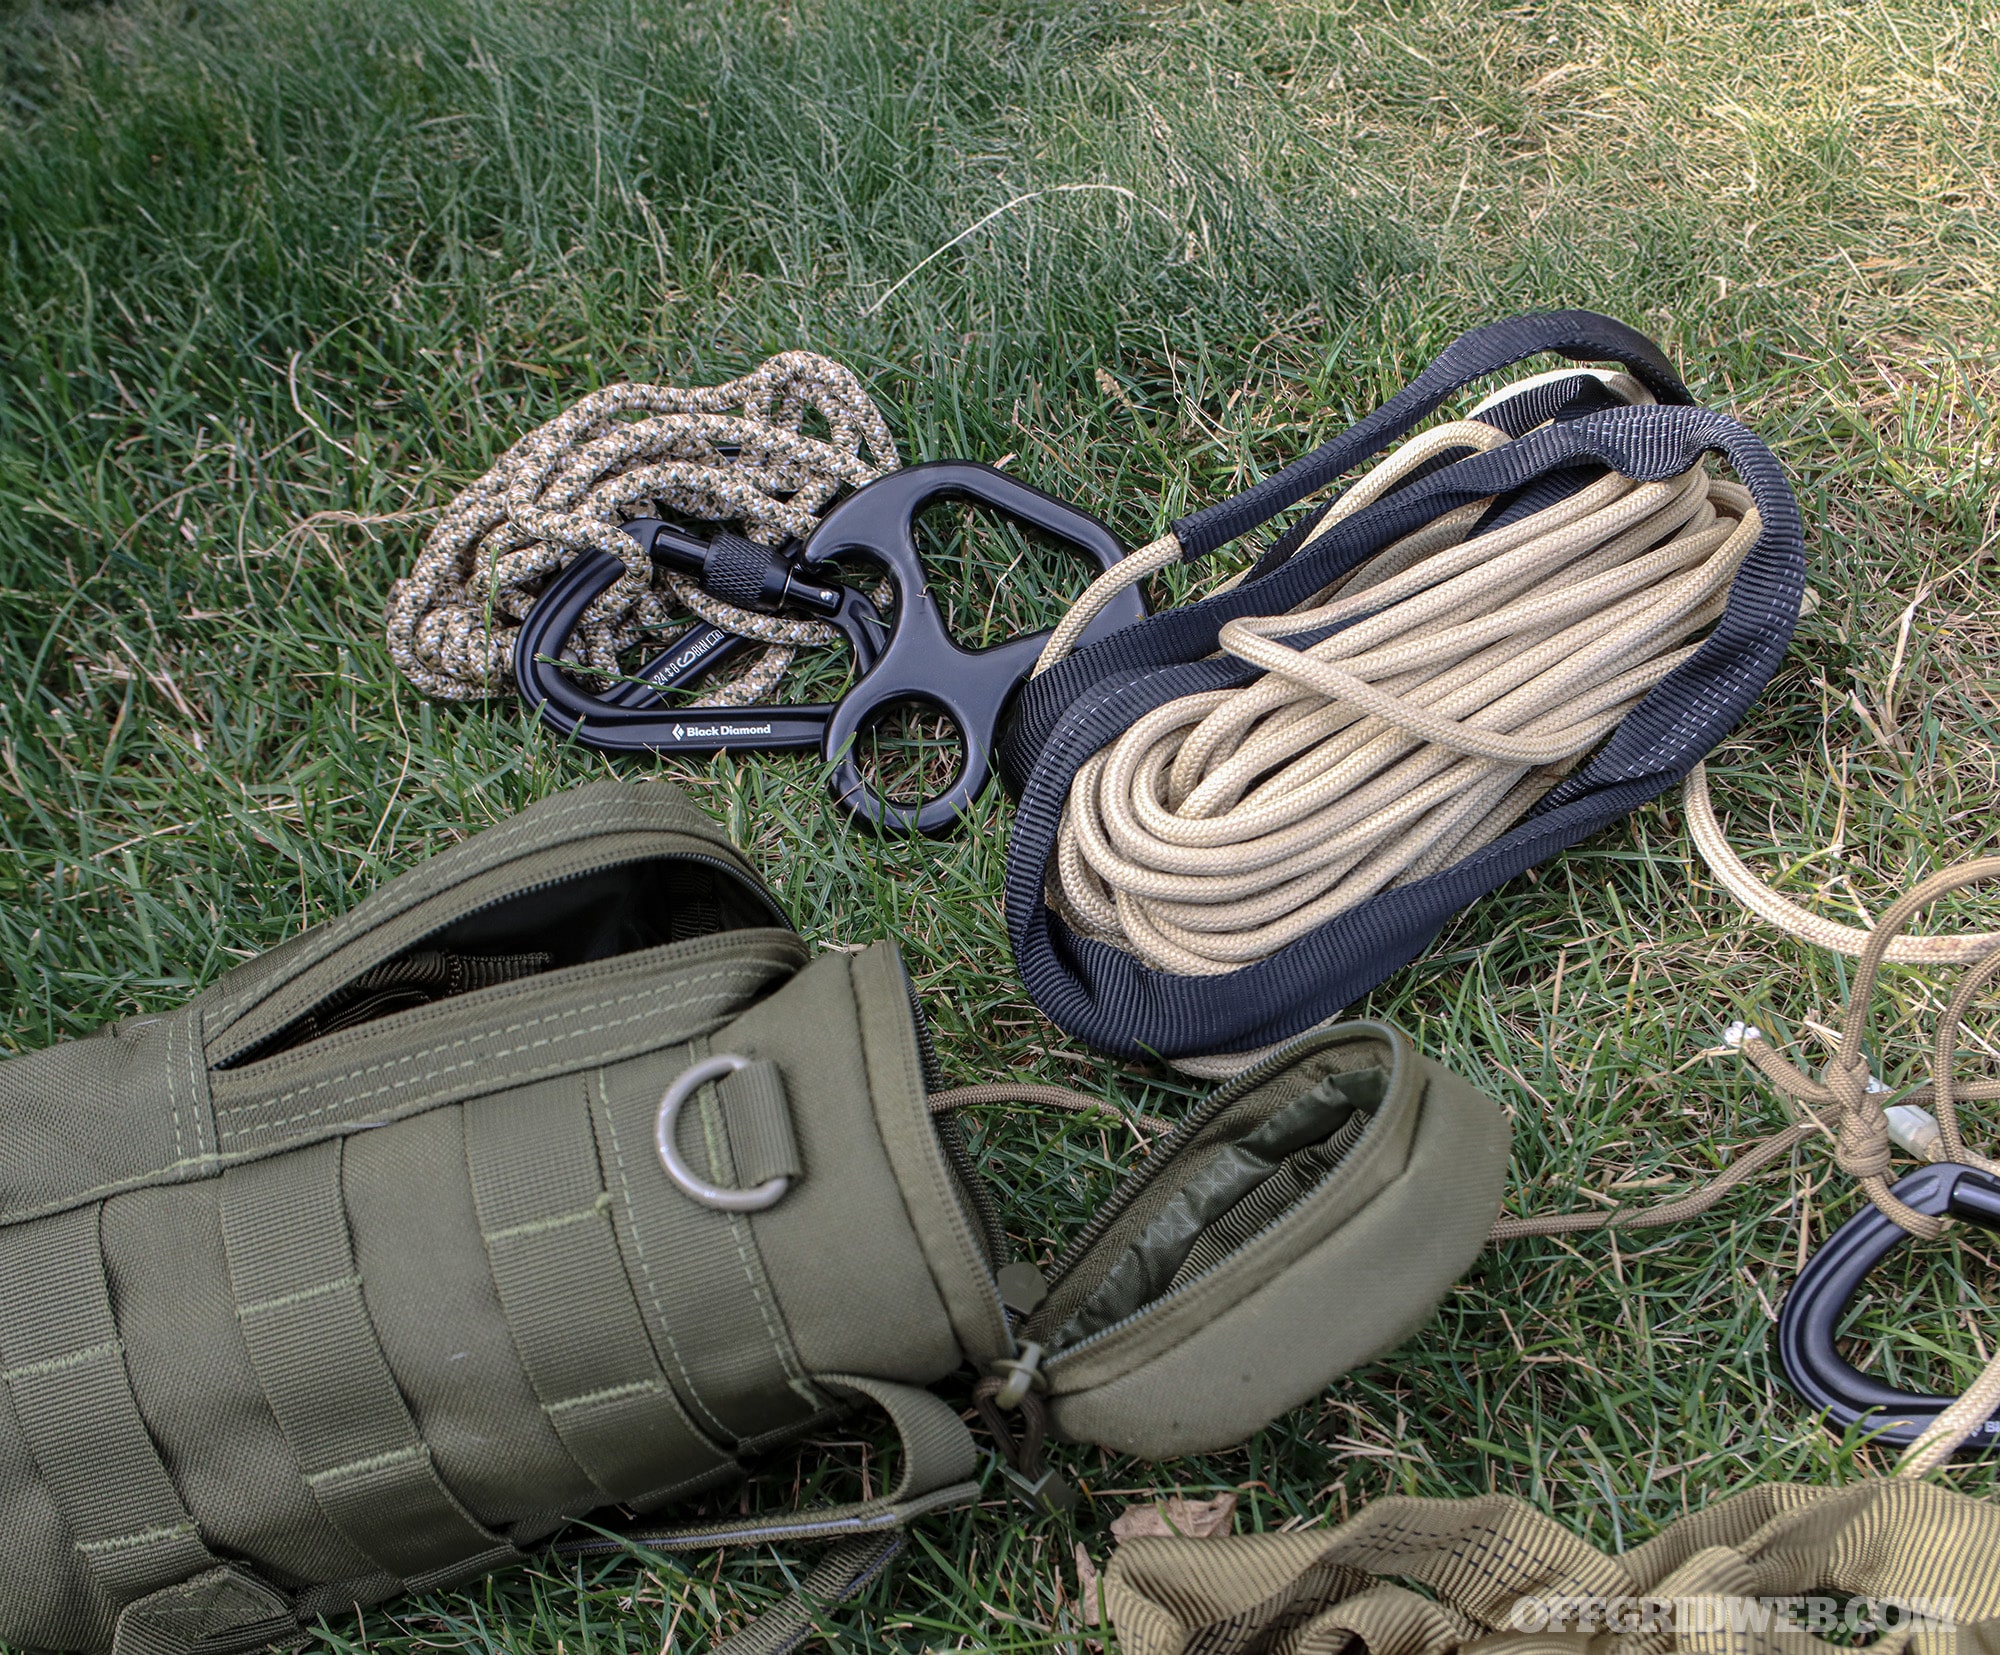
Executing a rappel demands five fundamental components: a descender device, carabiners for connections, a harness for personal attachment, the rope or cord serving as the descent medium, and a reliable anchor point. Primarily, one requires a friction-generating tool to control the downward journey. Next, connectors like carabiners establish critical attachment points. Then, a harness secures the individual to the apparatus. Additionally, a durable rope, cord, or cable facilitates the controlled slide (as opposed to free-falling through the atmosphere). Lastly, a secure top-end fixation anchors the entire system. This meticulously curated kit incorporates every one of these indispensable elements for effective rappelling.
Understanding Kilonewtons
Kilonewtons (kN) constitute the universal metric in climbing contexts, representing 1,000 newtons of force. This unit excels at capturing the maximum stress imposed on gear during dynamic events like falls. A single newton equates to the effort needed to accelerate one kilogram of mass at one meter per second squared, providing a precise gauge for equipment performance under strain.
Selecting the Ideal Descender
At the heart of the Micro-Rappel kit lies a compact rescue figure-eight descender, certified to withstand 30kN. The model depicted is an economical $17 option sourced from Amazon, though for optimal reliability, I advocate the Rock Exotica MiniEight. The sole caveat with the latter is its 14kN rating, which slightly lowers the overall minimum breaking strength projection. Rest assured, 14kN remains more than ample for the intended applications.
Many descenders falter with thinner ropes due to diminished friction generation. Standard designs accommodate broader rope diameters, hence the necessity for a figure-eight style device in this build. Canyoneers and rescue professionals favor these for their adaptability-friction can be modulated in real-time during descent. They perform particularly well with slender, slippery ropes, even in wet conditions, ensuring consistent control.
Choosing High-Quality Carabiners
The kit incorporates climbing carabiners boasting the customary 25kN rating. Given that a typical user in the system equates to roughly 1kN (approximately 224 pounds), this provides an expansive safety buffer-keep this in mind for the forthcoming 10:1 ratio discussion. I selected the dependable Black Diamond HotForge Screwgate lightweight carabiners, certified under CE EN 12275 to 24kN in the closed position along the primary axis, and verified by UIAA to 25kN.
Grasping equipment ratings proves crucial when assembling custom kits or acquiring any climbing gear. Among climbers, arborists, and alpinists, the UIAA (International Climbing and Mountaineering Federation) establishes the gold-standard certification. Current UIAA approval signifies that the gear has undergone stringent testing aligned with established safety protocols. Each product variant must individually qualify, and certifications have expiration dates. These endorsements validate manufacturers’ stated performance claims, with verifiable details accessible through official channels.
Constructing an Efficient Harness
The harness ranks as the second most space-intensive element in rope systems, so compactness was paramount. I devised a swift, field-expedient hasty harness using approximately 11 feet of tubular webbing, fashioned into a continuous loop via a reinforced water knot. Rock-N-Rescue rates their webbing at around 17kN; when doubled, it forms one of the most robust anchors achievable, approaching 40kN.
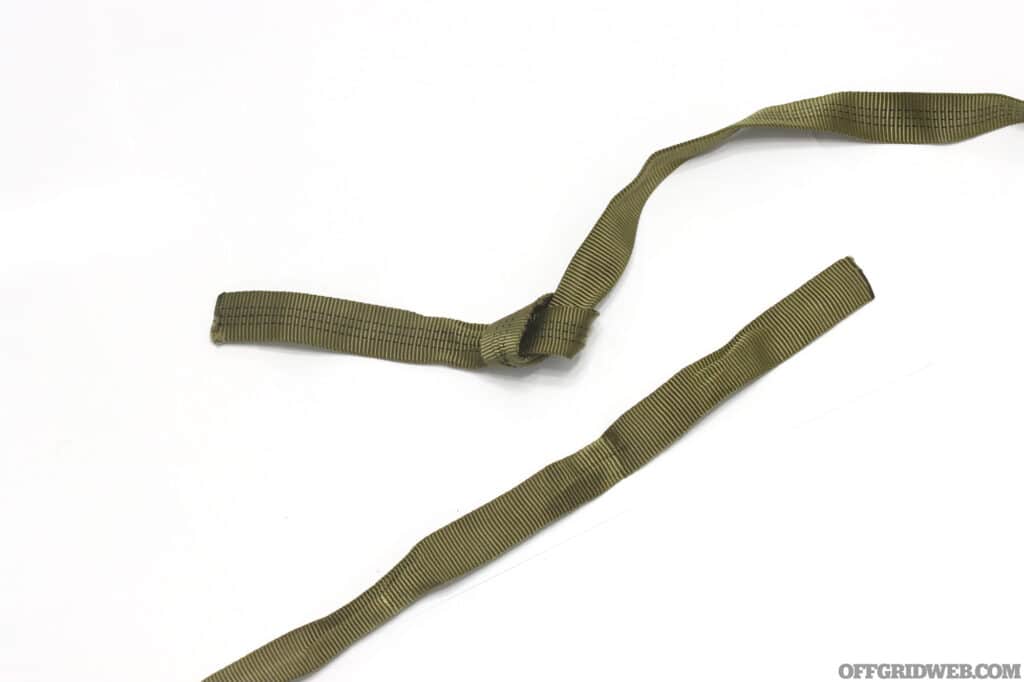
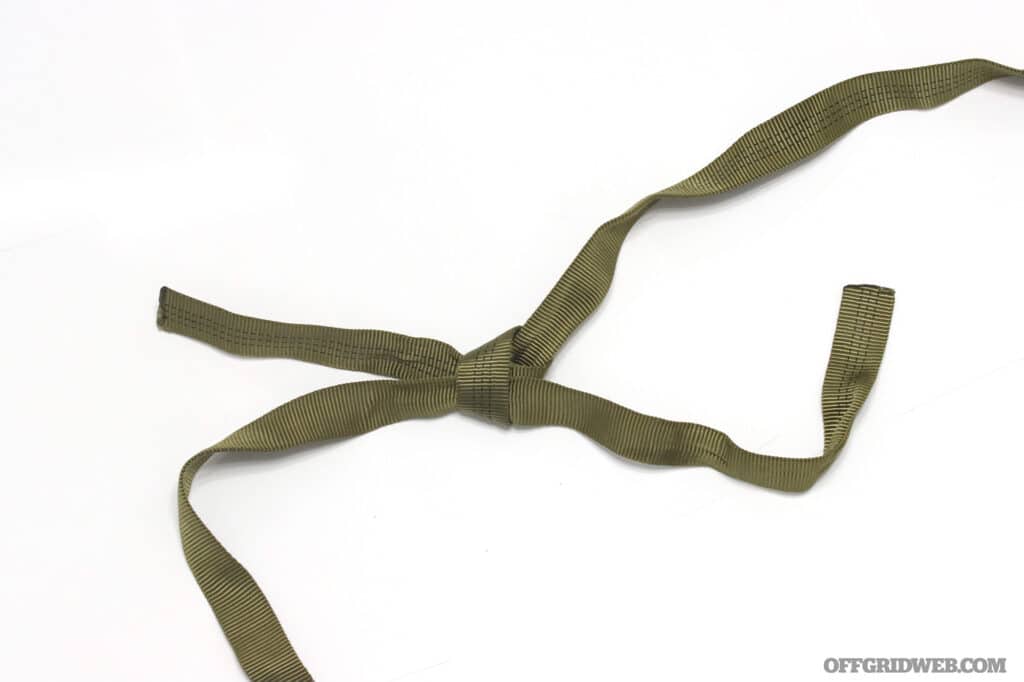
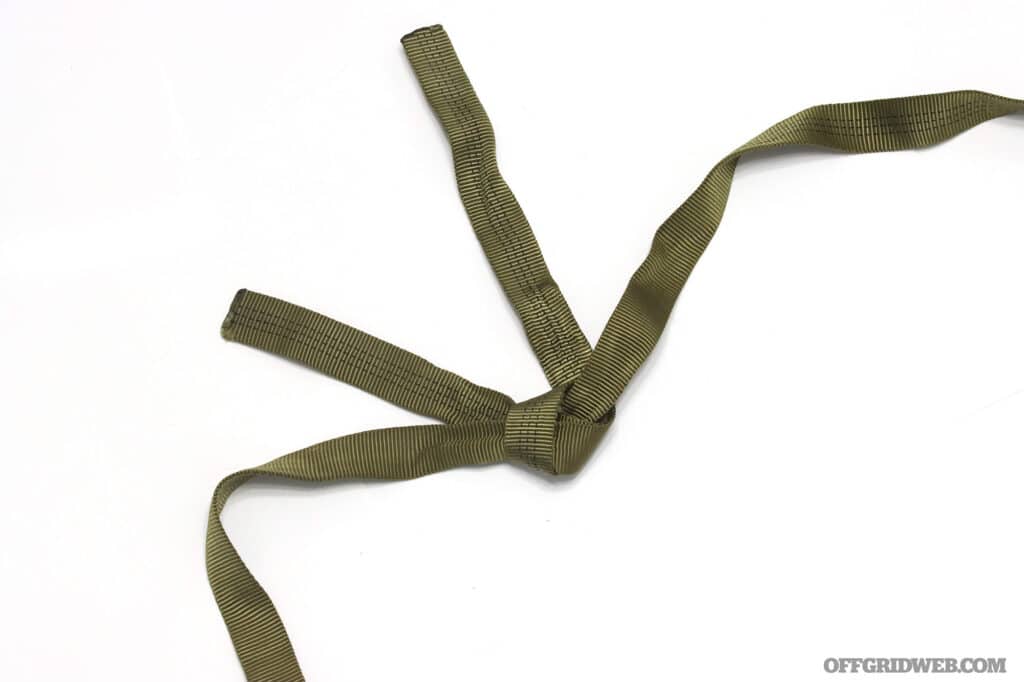
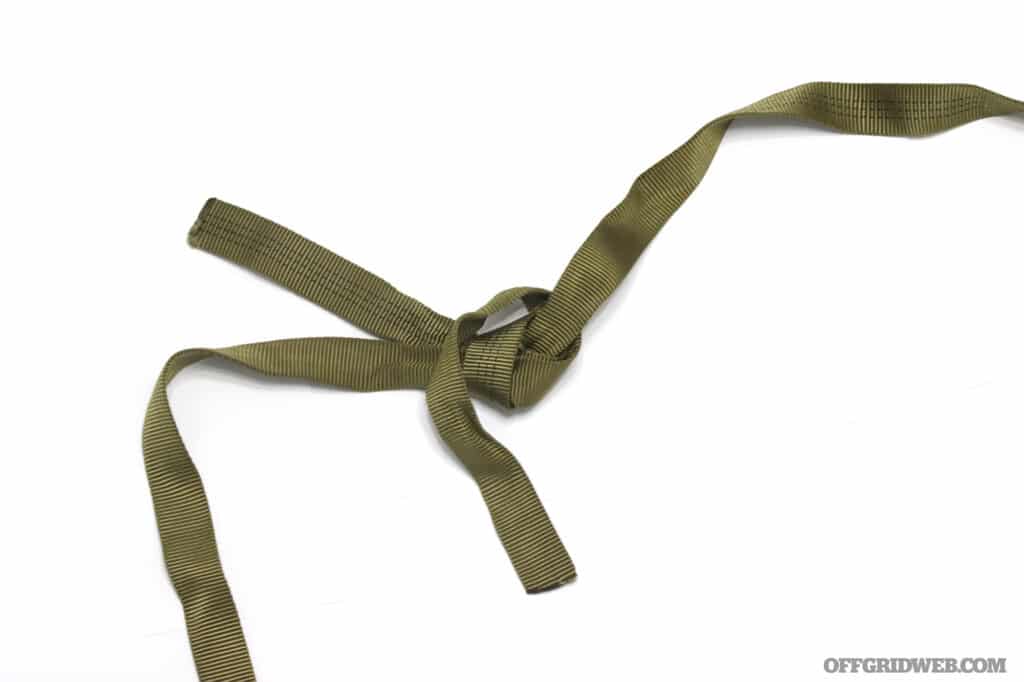
The water knot stands out as the most secure and straightforward method for joining webbing ends or encircling anchors. Begin by forming a loose overhand knot in one end, then meticulously trace and feed the opposing end through in reverse. Tighten firmly while ensuring both strands lie flat. Secure further with overhand backups on each tail, enhancing both safety and aesthetics.
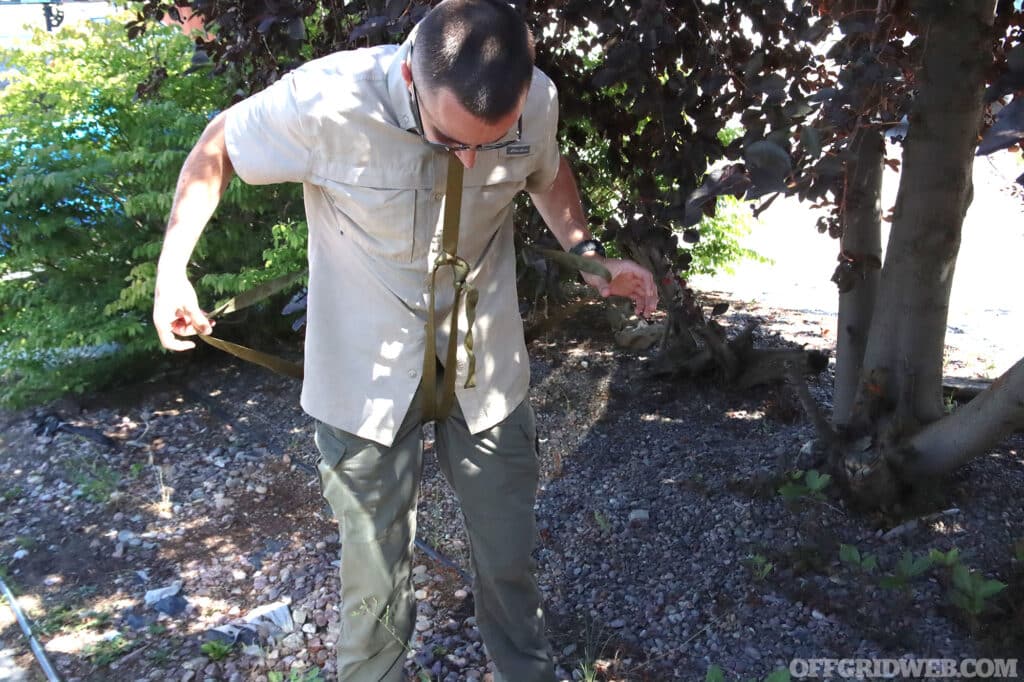
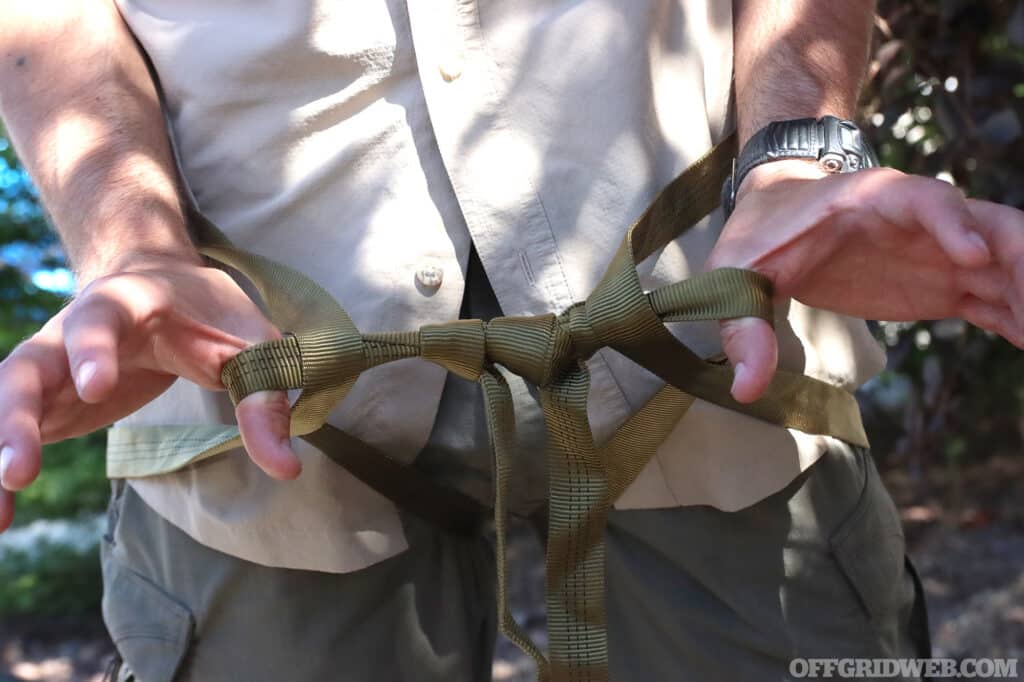
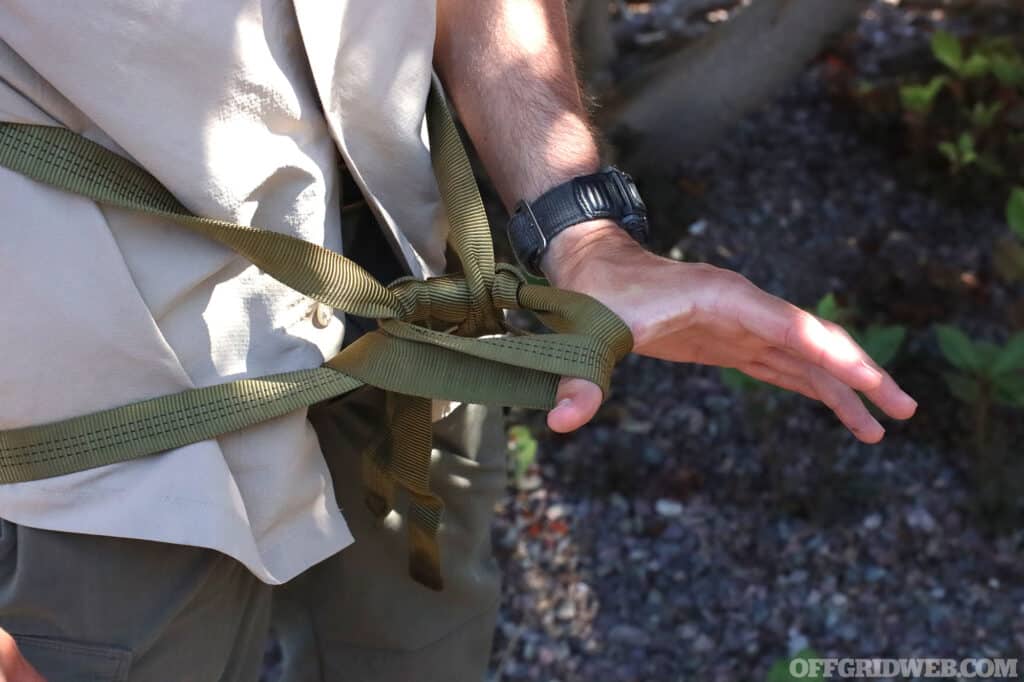
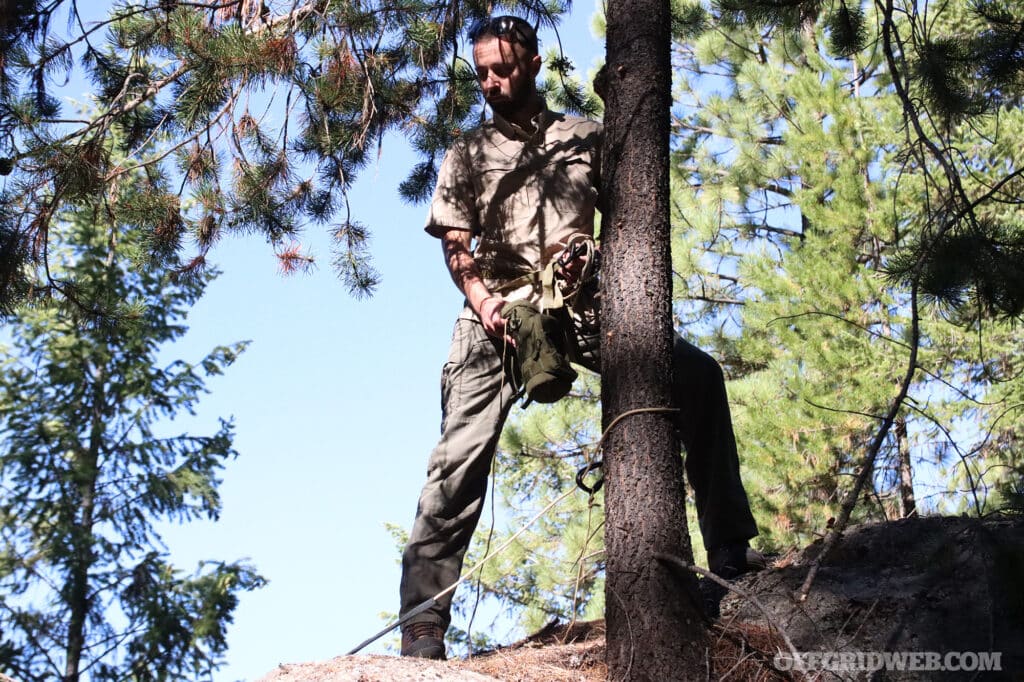
This improvised field harness deploys rapidly and wears comfortably. Hold the webbing sling in front, bite one end to liberate your hands, then pass the sling’s base between your legs (steering clear of discomfort for males). Route each side around your waist until a single strand crosses your lower back. Unite the waist segments anteriorly, release the bitten portion, and weave each emerging side through the waist loops. Draw the fresh loops taut to establish the tie-in point. Secure with a carabiner or basket hitch; tension locks it firmly.
Mastering the Water Knot Technique
Water knots excel with flat or tubular webbing, ideal for gear loops, anchor construction, and diverse outdoor applications. Critically, maintain 3- to 6-inch tails on both sides to avert slippage under load.

Optimizing Rope Selection
Rope often emerges as both the frailest link and the most voluminous component in rappelling assemblies. Minimizing bulk necessitated slender profiles, yet this risked compromising integrity under stress. Thinner ropes inherently possess reduced tenacity and longevity. Choices boiled down to dynamic versus static variants: the former stretches to absorb fall energy, the latter remains taut.
Dynamic ropes carry lower ratings as they distribute impact across their length, beneficial for lead climbers on sheer faces but problematic for rappels. Stretch induces bouncing during free hangs, complicates disengagement at the base as the rope recoils, and hinders static work. For this Micro-Rappel kit, static rope proved superior-offering superior strength and minimal elongation.
Sourcing a rope compact enough for sock-like storage yet robust enough for safety posed a significant hurdle. Conventional 6mm accessory cord, rated 7–8kN, fell short for solo-line rappels-serviceable emergently but unreliable. Doubling it achieved strength but halved range and inflated bulk. Inspiration struck from firefighter escape lines employing Technora, a Kevlar cousin renowned for strength, heat tolerance, and abrasion resistance. Technora outperforms larger nylon equivalents by twofold to threefold. Ultimately, a 6mm, 50-foot Sterling Technora rope at 21kN emerged as ideal-compact, potent, and superior to standard cords. Complementing this, an elongated rappel extension via looped 6mm cord basket-hitched to the harness enhances comfort, particularly under heavy loads.

Retrieval presented a straightforward solution: 550 paracord, ultra-slim and inexpensive, serves as the pull line bearing only retrieval tension. Deployment involves uncoiling the primary rope, anchoring it, and casting it downward. Attach the paracord’s end to the anchor carabiner, then hurl the bag. From below, yank the paracord to retrieve the carabiner and rope.
Though 550 paracord is touted for 550-pound static capacity, climbing metrics favor kN due to dynamic force amplification. It suffices statically but snaps under jumps. As a pull cord, it encounters negligible load beyond overcoming anchor friction-typically well within limits.
Step-by-Step Harness Assembly
A robust harness underpins rappelling safety. If any step induces doubt, consult local climbing experts for guided practice.


Evaluating Anchor Options
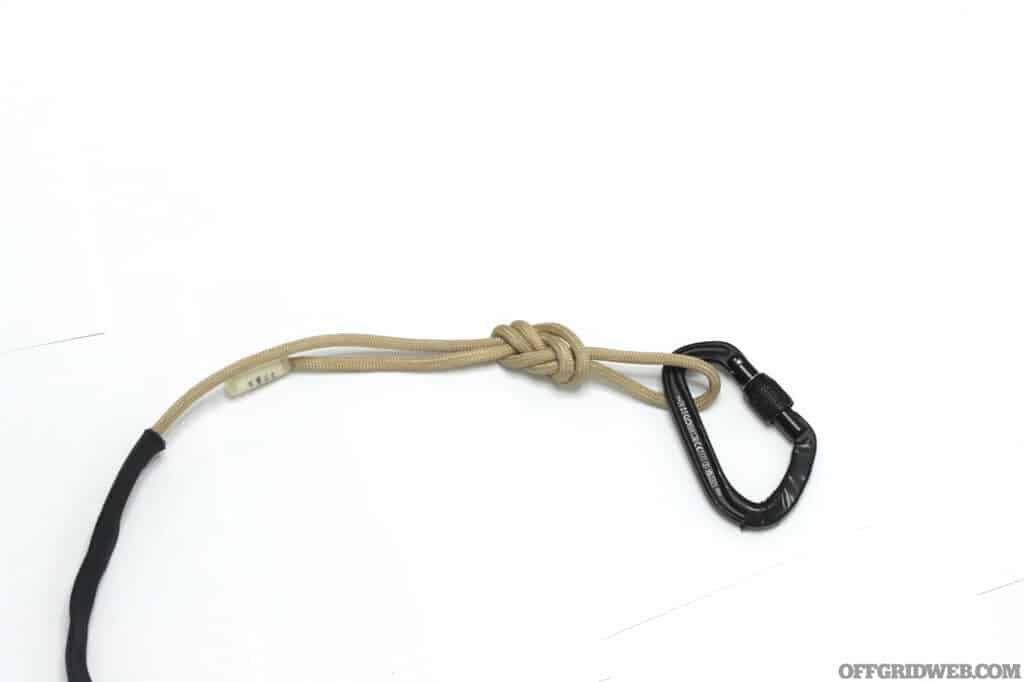
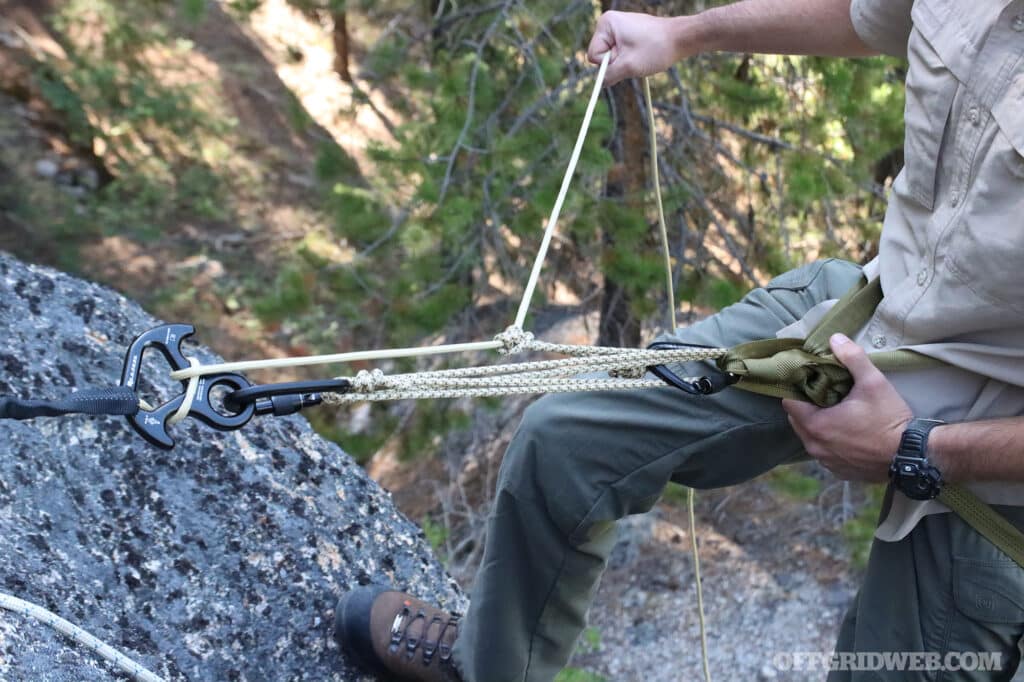
Anchoring employs the rope in a beaner-block method to conserve space/weight and enable retrieval, albeit at a strength trade-off. The rope’s top ties to a carabiner, wraps the anchor object (tree, beam, etc.), then reclips, forming a girth-hitch-like slip loop. Paracord attachment facilitates bottom-end pull-down.
Technora, an aramid fiber, resists heat fusion, but unsealed ends risk core-sheath slippage, degrading performance. Always whip or seal cuts properly.
A short accessory cord loop doubles as a prusik for backup friction beneath the descender-a non-load-bearing “third hand.” It excludes from primary safety computations.

Integrating the Full System
Aggregating ratings pinpointed the accessory cord as the baseline limiter, mitigated by doubling and basket hitching to ~16kN effective strength-the system’s floor (knots aside). Dividing 16kN by 1kN user load yields a 16:1 ratio, eclipsing the 10:1 norm. Favorable margins indeed.
Key caveats post-assembly: Knots erode rope strength, especially Technora by up to 40%, netting 10–11kN-still a 10–11:1 buffer. As a DIY from disparate parts, verify specs, availability, pricing, and contextual suitability. Anchors vary; urban users might add jamb/window hooks. Rope length demands foresight for wraparounds or optimal tie-offs beyond 45 feet.
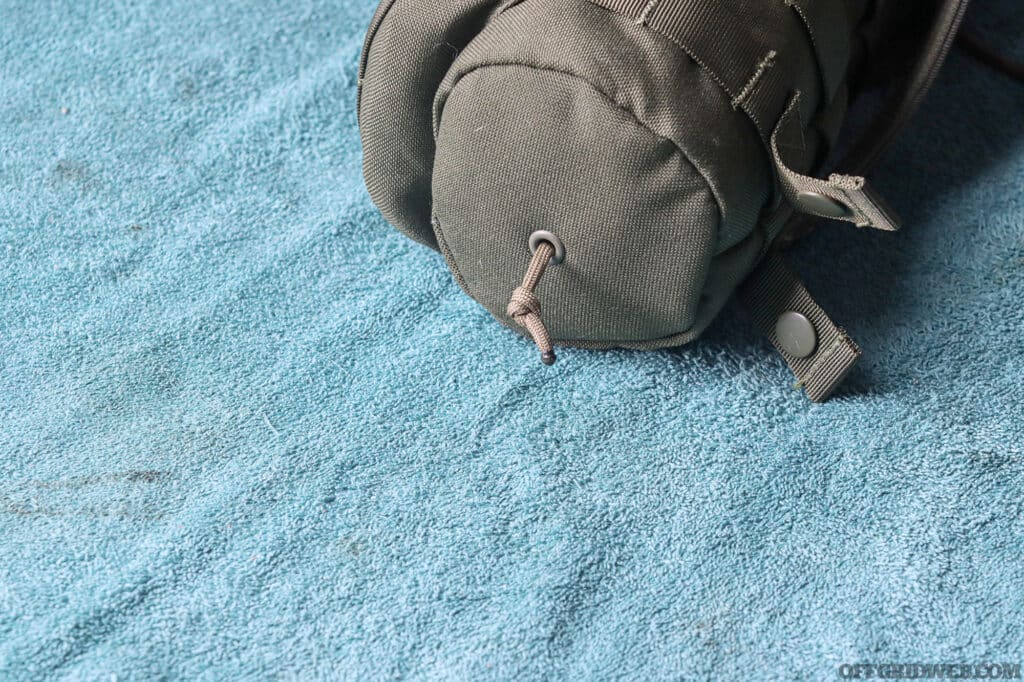
A duplicate harness enables belaying/lowering casualties, using my harness as anchor via munter-mule-overhand locks. The gear reconfigures for 3:1 hauls on personnel/loads. The Condor MOLLE pouch accommodates loosely, drain hole repurposed for paracord throw-bag functionality.
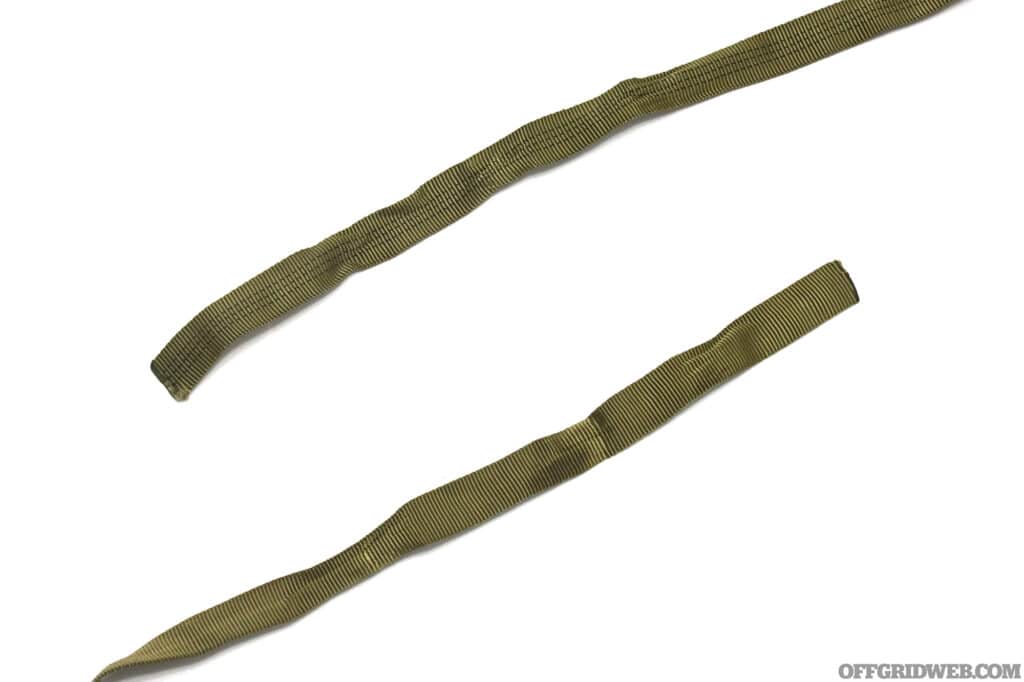
For edge abrasion defense, a 6-foot webbing sleeve slides protectively over hotspots, bolstering emergency reliability.
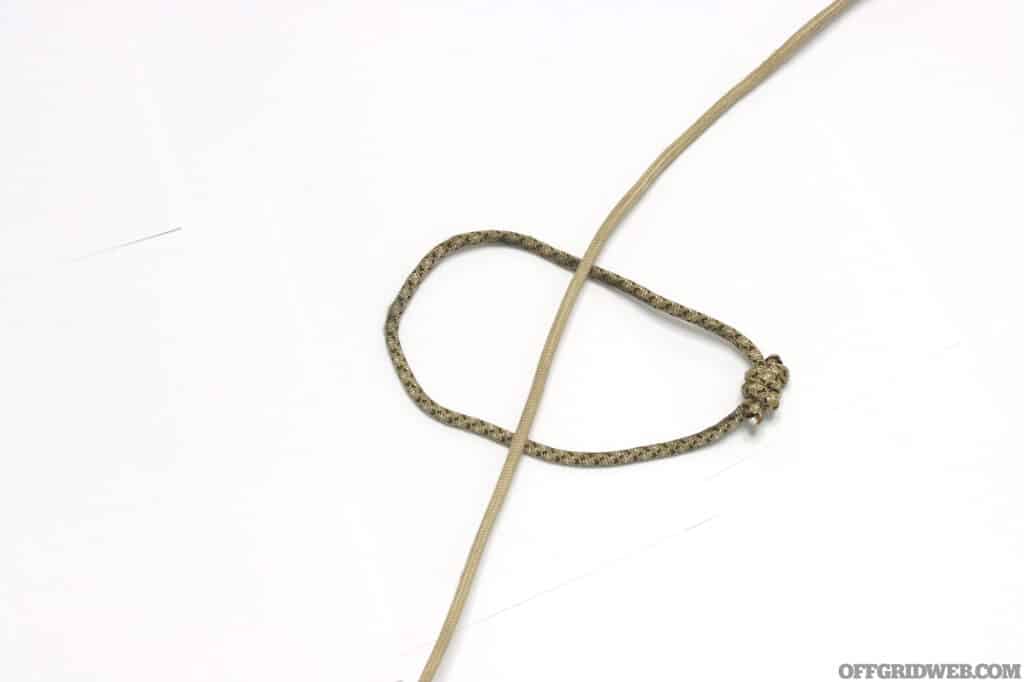
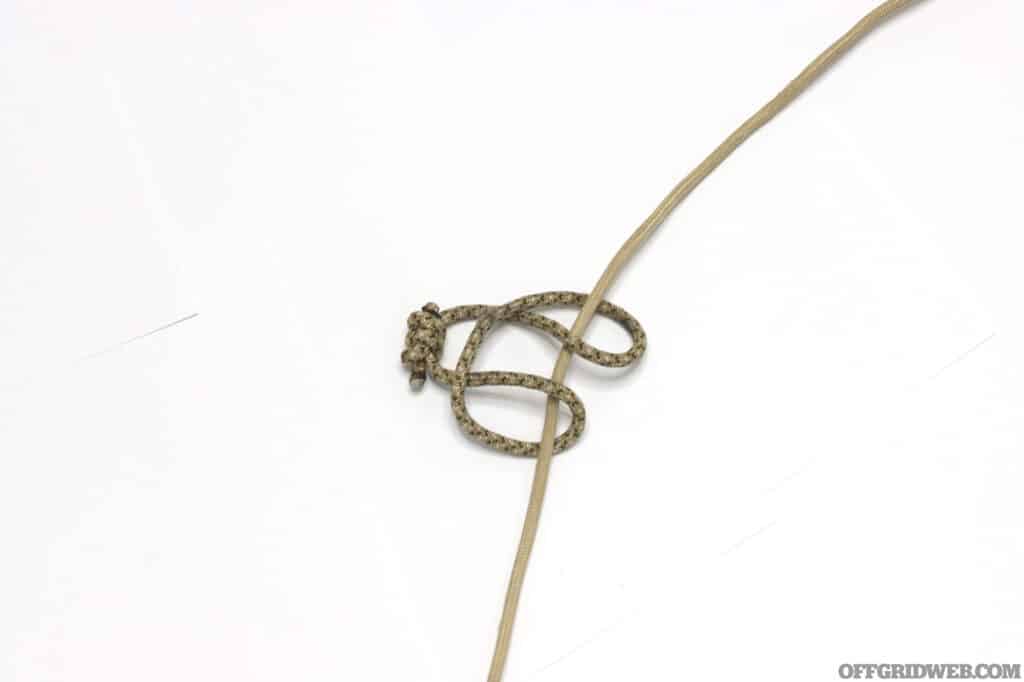
Prusik Knot Fundamentals
The prusik provides adjustable grip as a rappel backstop. Loop cord around host rope 2–3 times, threading through itself per wrap for friction tuning. Dress tight, carabiner-clip below descender; it auto-locks hands-free.
Basket Hitch Essentials
This hitch maximizes simplicity and power sans extra knots. Thread sling through tie-in, capture both ends in carabiner.
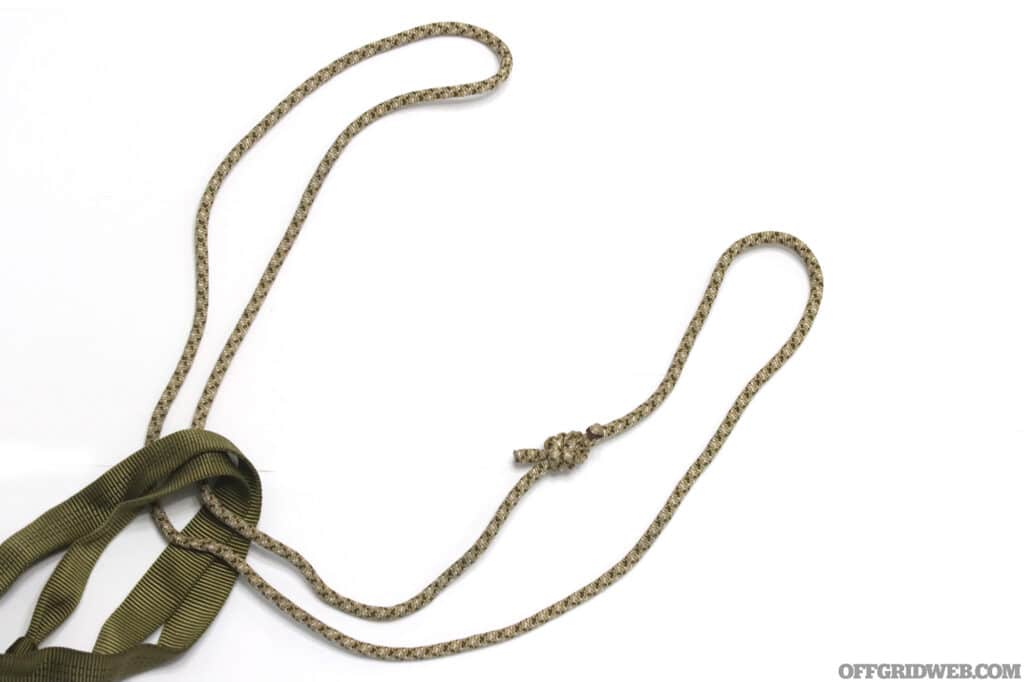
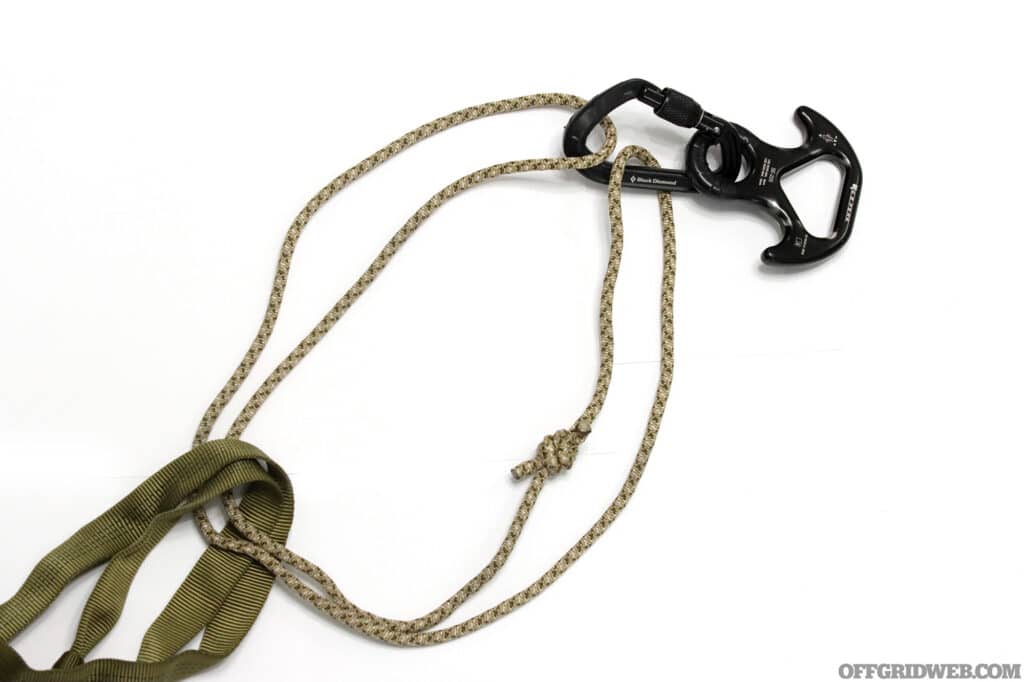
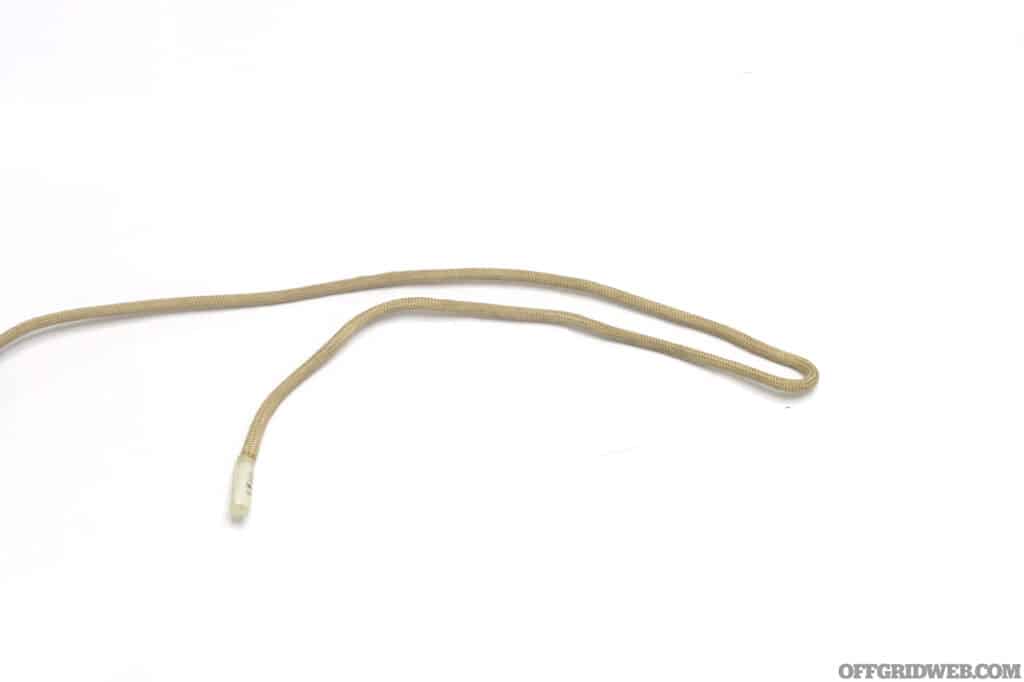
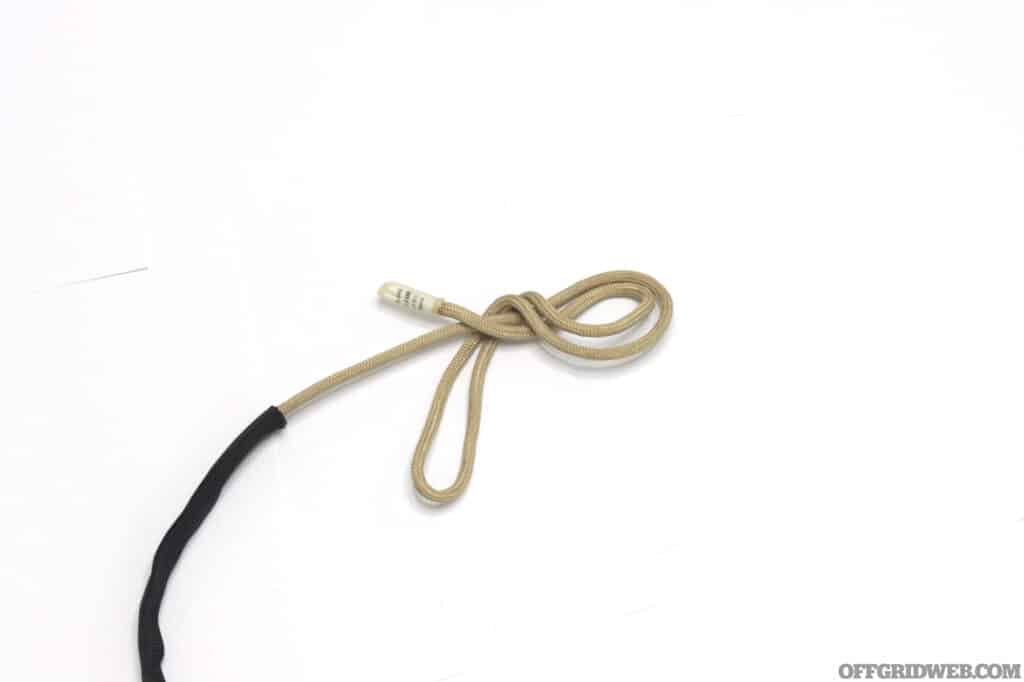
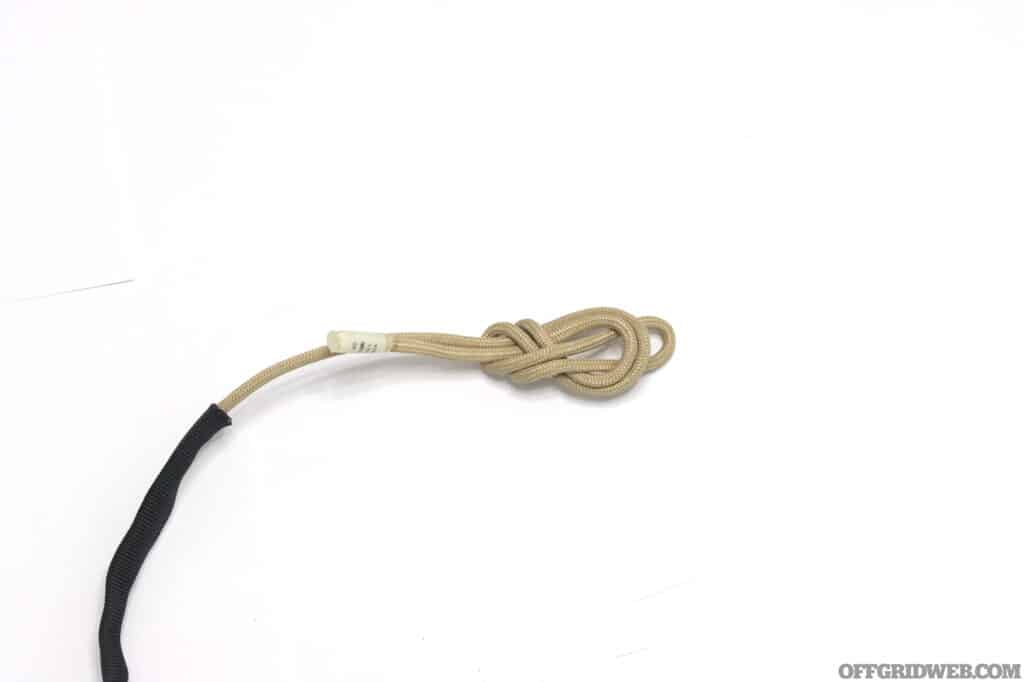
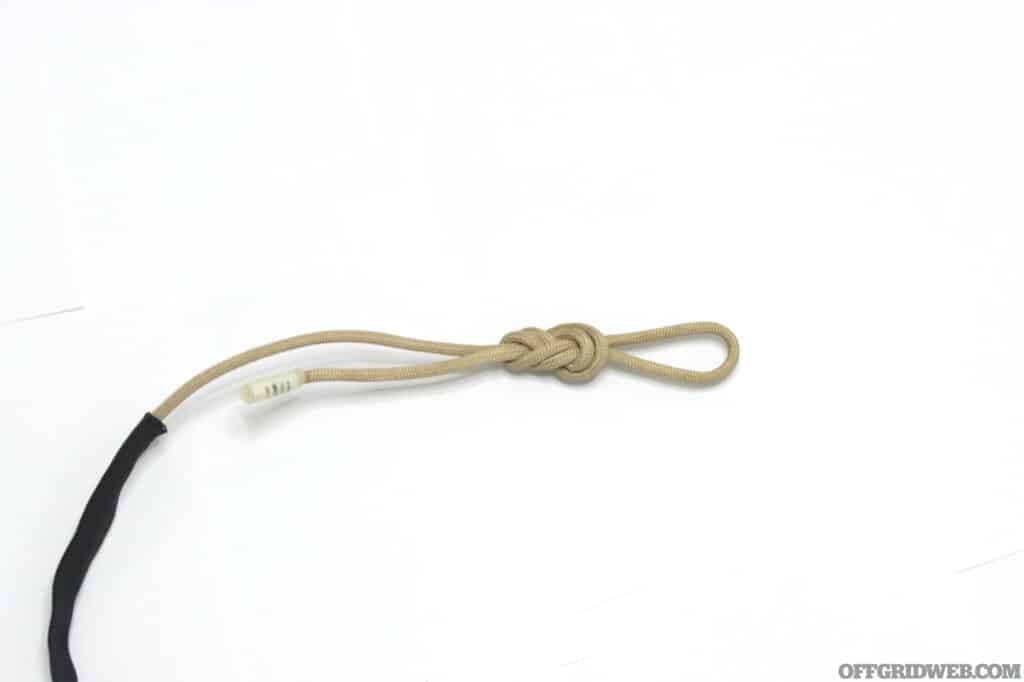
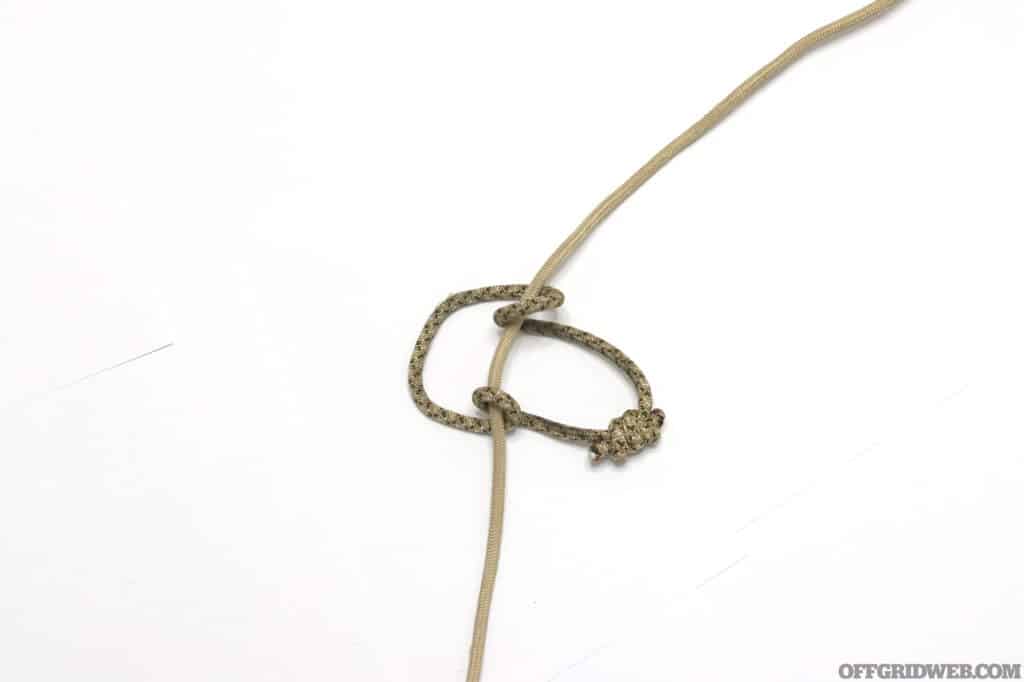
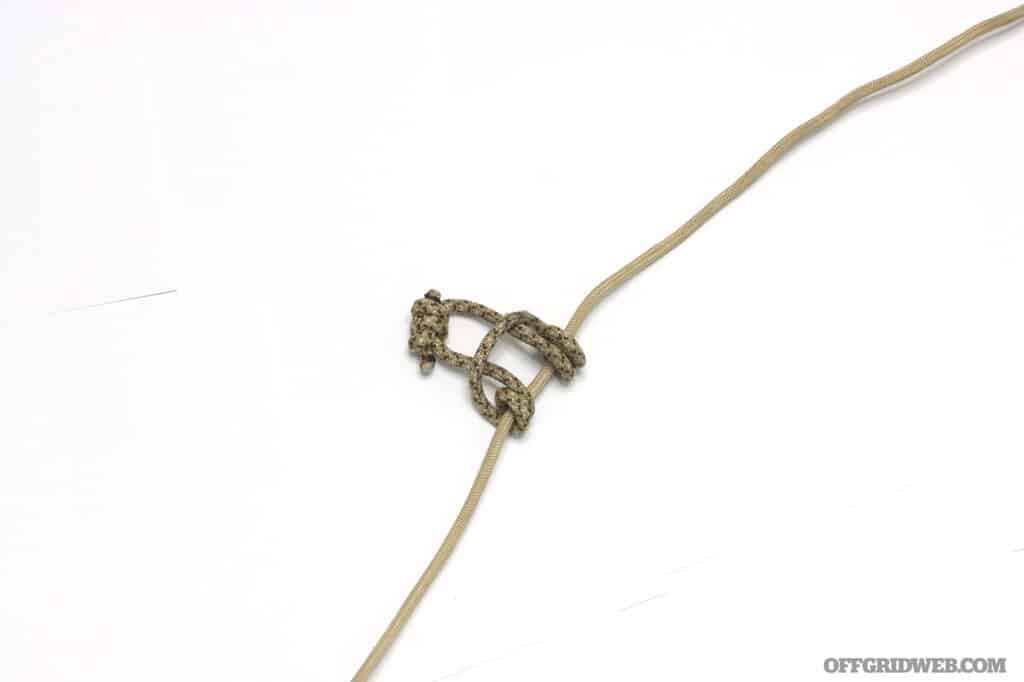
Figure-Eight Knot Mastery
The figure-eight anchors ropes to carabiners/harnesses reliably. Create bight, route around object, return end through loop. Dress meticulously for peak integrity. Employed here for anchor carabiner attachment.