Featured Content


Editor's Pick


Enter your email address below and subscribe to our newsletter

Your Next Move, Planned.
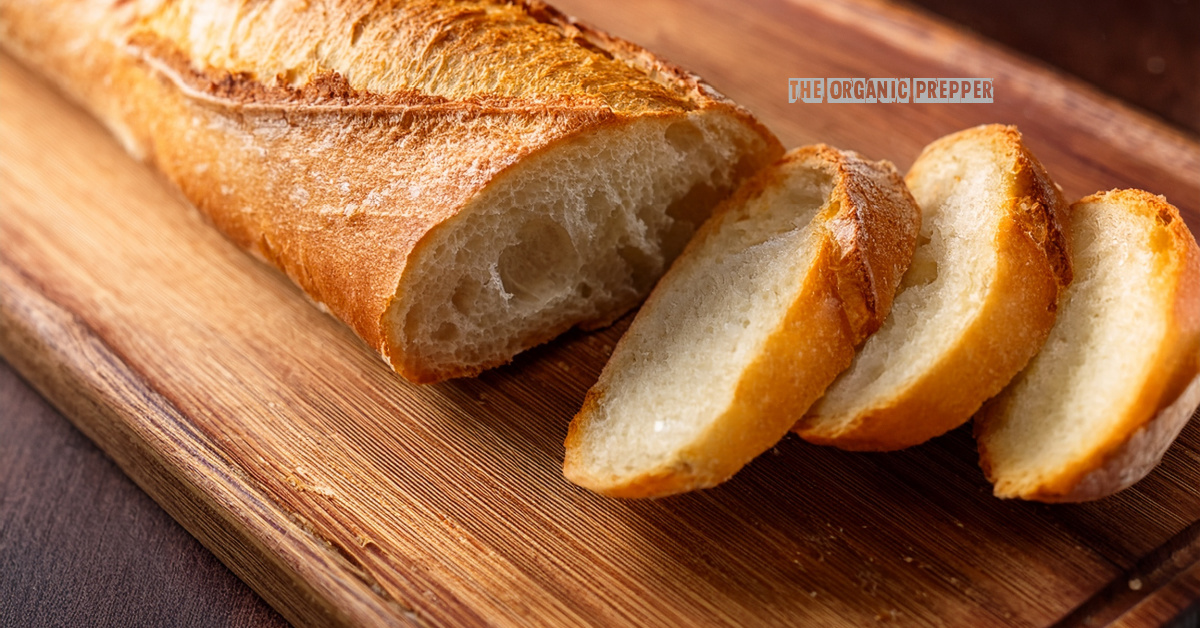
When you bake homemade bread or purchase it from a local bakery, it becomes evident that artisanal loaves don’t have the extended shelf life of those soft, commercially packaged varieties found in supermarkets. This is primarily due to the absence of chemical preservatives, artificial additives, and texture enhancers that keep store-bought bread pliable for weeks. Regularly enjoying freshly baked bread inevitably leads to an accumulation of stale loaves over time.
An article about preparing homemade breadcrumbs inspired me to explore additional creative solutions. My daughter, who works at a high-end Italian eatery, frequently brings home generous supplies of fresh bread, and it’s challenging to consume it all before it loses its freshness. Converting every excess loaf into breadcrumbs would quickly result in an overwhelming stockpile, enough to construct an entire structure!
So, what are some practical and appetizing alternatives for repurposing bread that has surpassed its prime? Below, you’ll discover seven versatile methods to breathe new life into those hardened slices, ensuring minimal waste while maximizing flavor and utility in your kitchen.
Before diving into the recipes, it’s crucial to intervene when the bread is merely stale rather than moldy. Personally, I discard any bread showing signs of mold to avoid health risks. A simple strategy I employ is transferring slices to the freezer after just a couple of days. This preserves them at a usable stage, preventing further deterioration and making them readily available for the following preparations.
One of the most frequent applications in my household is creating a classic dressing to accompany roasted chicken. This technique was passed down from my mother-in-law, and it involves maintaining a dedicated container, such as an empty ice cream pail, in the freezer specifically for bread scraps. Items like trimmed crusts, slices on the verge of staleness, leftover dinner rolls, and similar pieces all find their way into this collection bucket.
When preparing a whole roasted chicken or even individual chicken parts, I retrieve the frozen bread from the container and spread it out in a single layer on a baking sheet. Placing this in an oven preheated to around 200 degrees Fahrenheit for approximately one hour ensures the pieces dry out completely. In a pet-free environment, you could simply leave the sheet exposed to air until the desired dryness is achieved. Once dried, I roughly chop the bread and incorporate it into my preferred dressing or stuffing recipe-a Southern staple known as dressing or its Northern counterpart, stuffing. This addition transforms an ordinary meal into something reminiscent of a festive holiday feast, delighting your family with its comforting familiarity.
Bread pudding holds a special place for my friend Scott, who has experimented with numerous variations over the years. He emphasizes that stale bread excels at absorbing the custard mixture, resulting in a superior texture. Although he often freestyles his approach, a reliable recipe typically features basic pantry staples without requiring rare or costly components-chances are, you have everything necessary already stocked in your kitchen.
Essentially, bread pudding mirrors the essence of French toast, which itself is an excellent stale bread revival method. For an extra touch of indulgence, finish it with a generous drizzle of pure maple syrup, elevating the dessert to new heights of satisfaction.
Another fantastic way to utilize those freezer-stored bread remnants is by crafting your own version of instant stovetop stuffing. For optimal results and energy efficiency, a food dehydrator proves ideal, as prolonged oven use can unnecessarily warm your home and consume extra electricity. Begin by cutting the bread into small, consistent cubes and dehydrating them fully until crisp.
Transfer the dried cubes to a spacious mixing bowl, then incorporate dehydrated onion flakes, ground sage, salt, black pepper, and celery seed for authentic flavor. Poultry seasoning works wonderfully as a convenient all-in-one alternative. Thoroughly combine all ingredients and seal them in an airtight jar for prolonged storage.
To prepare the stuffing, use a ratio of about half a cup of broth combined with one teaspoon of butter for every two cups of the dry mix. Heat the liquid to a boil, then remove from the heat source and stir in the bread mixture. Allow it to rest for roughly five minutes, absorbing the moisture fully. For a personal twist that adds a burst of sweetness and chewiness, mix in some dried cranberries-absolutely delectable!
Transform your stale bread into versatile croutons by slicing it into cubes measuring between half an inch and one inch, depending on your texture preference. Lightly coat the pieces with olive oil and season generously with favorites like garlic powder, onion powder, smoked paprika, and just a hint of salt to enhance natural flavors.
Arrange the seasoned cubes in a single layer on a baking sheet and bake in a 375-degree Fahrenheit oven. Stir them periodically to promote even browning and crispiness. Once baked to golden perfection, allow the croutons to cool thoroughly before transferring to a storage jar, where they can remain fresh for weeks, ready to elevate salads, soups, or snacks.
While not my top choice personally, rusks enjoy immense popularity in regions like Greece, where they serve as a foundational element in various dishes such as pasta preparations or vibrant salads. A rusk essentially consists of bread baked twice for extra durability, typically starting with a loaf from the previous day. They are often finished with a brush of olive oil and a sprinkle of garlic, imparting a robust, savory profile that complements fresh ingredients beautifully.
I first discovered fried bread during my time living in Montenegro, in a compact apartment lacking both a toaster and a full oven. The method is straightforward: generously spread butter on both sides of a stale slice and place it directly into a hot frying pan, treating it similarly to a grilled cheese sandwich. Fry until each side achieves a light golden brown, yielding a delightfully crunchy exterior that encases a tender, warm interior.
In one of my European residences, a compact countertop grill became indispensable for toasting bread or crafting gourmet grilled sandwiches. To prepare, assemble your desired fillings between two slices, apply butter or olive oil to the outer surfaces, and press the sandwich into the preheated grill. Cook for about five minutes until the bread is crisped and the interior is melty.
The outcome is a hot, flavorful sandwich far superior to its cold counterpart in terms of satisfaction and taste. In my opinion, every grilled sandwich deserves the inclusion of cheese, allowing it to ooze and meld into gooey perfection-surely a universal truth worth enshrining in culinary law!